 Skip to content
Garage Floor Coating in Milford, MI
QUESTIONS? NEED A QUOTE?
Why Milford Homeowners Choose MotorCity
★ 4.9 rating · 488 Google reviews
- ✓ Lifetime warranty
- ✓ One-day installation
- ✓ BBB accredited (since 2020)
- ✓ Licensed & insured
Upgrading Garage Floor Coatings in Milford, Michigan with Polyurea-Polyaspartic Coatings
Last updated: July 29, 2026
On this page, we document 4 projects of garage floor coatings in Milford and Milford Charter Township, Michigan. Our dual-coating systems have converted worn concrete slabs into durable, attractive garage floors. Milford is an Oakland County community with a mix of established residential neighborhoods — from tree-lined subdivision streets to homes along Milford’s rural edges — each with its own concrete history and its own set of conditions our crew works with. Beyond Milford, we install garage floor coatings across Michigan, including nearby West Bloomfield Township.
Many of the properties where we apply our polyurea-polyaspartic floor coating systems in Milford had accumulated the wear and tear of Michigan’s harsh climate. As you will see in these 4 case studies, our garage floor coating specialists work with concrete slabs in a wide variety of conditions: some needed only standard surface preparation. Others required significant remediation — oil extraction, old epoxy removal, and crack and pitting repair — before the polyurea and polyaspartic coats could go down. We describe the process and results, and include the before-and-after photos for each job.
Milford Garage Floor Coating Case Studies
These 4 case studies carefully document the condition of the concrete slab, the challenges we encountered, and the steps our crew took to prepare and restore each surface before applying the dual-layer system. Each project reflects a different set of conditions, and together they show the consistent quality standards MotorCity Floors and Coatings applies to every installation.
Garage Floor Coating
on Tall Timbers Drive
Tall Timbers Drive, Milford Charter Township, MI
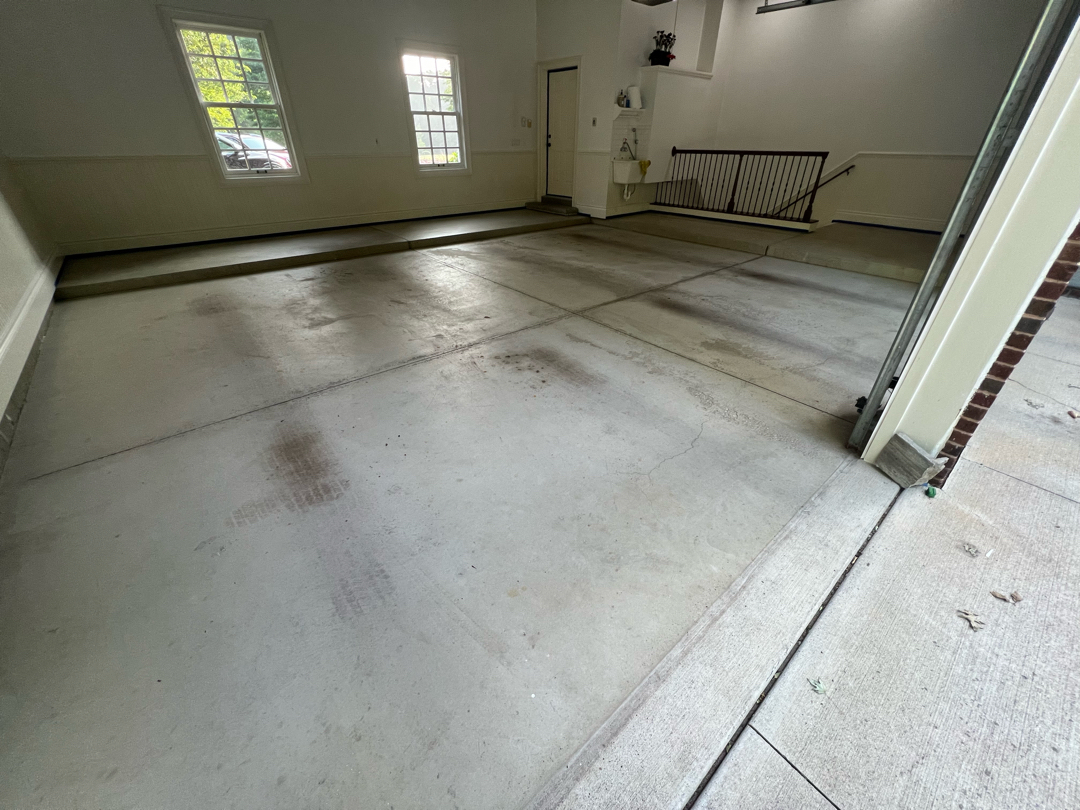
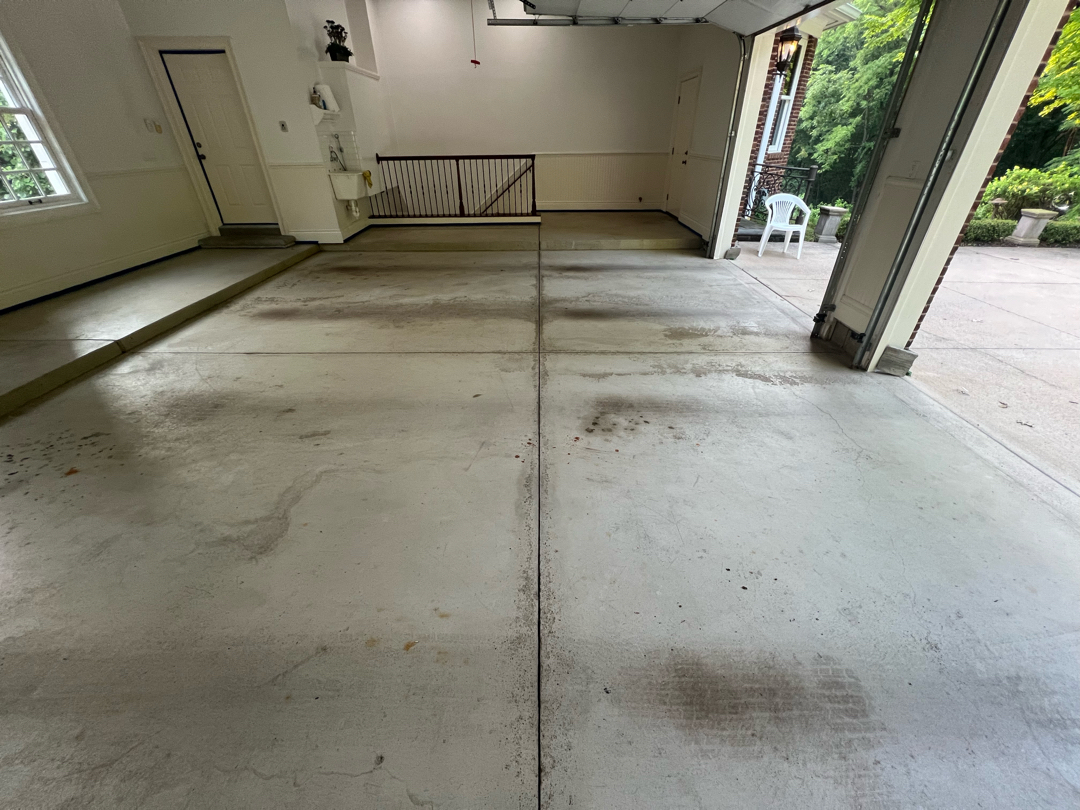
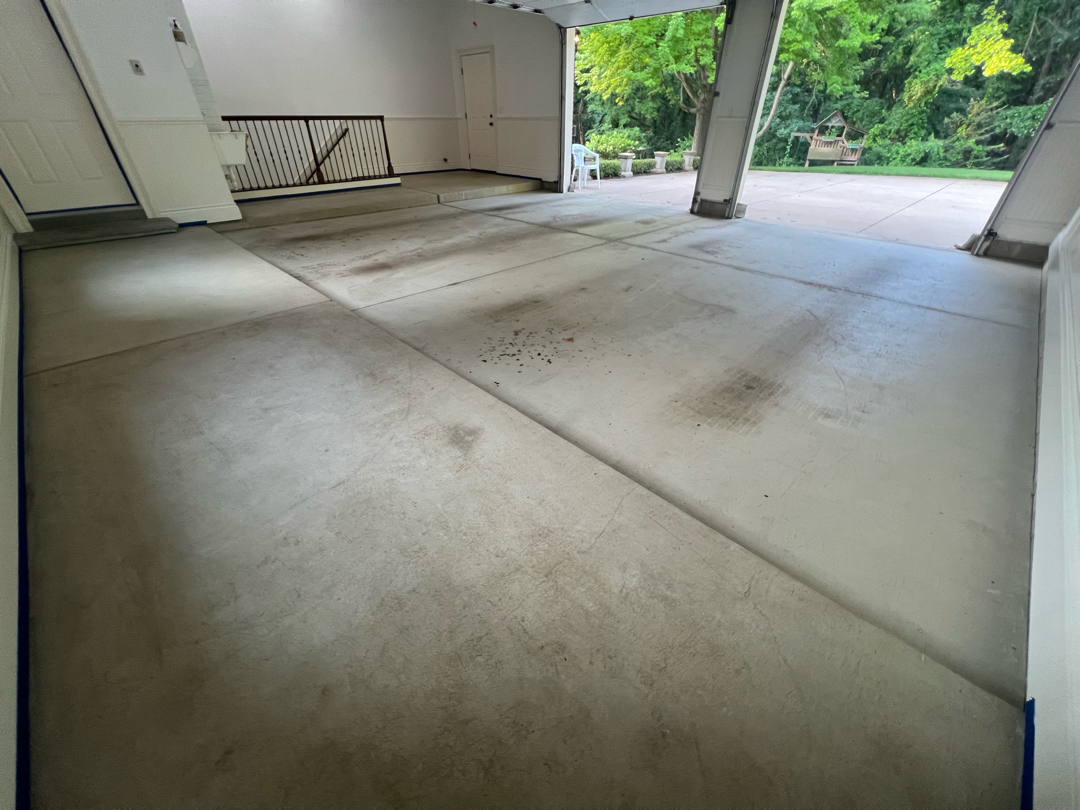
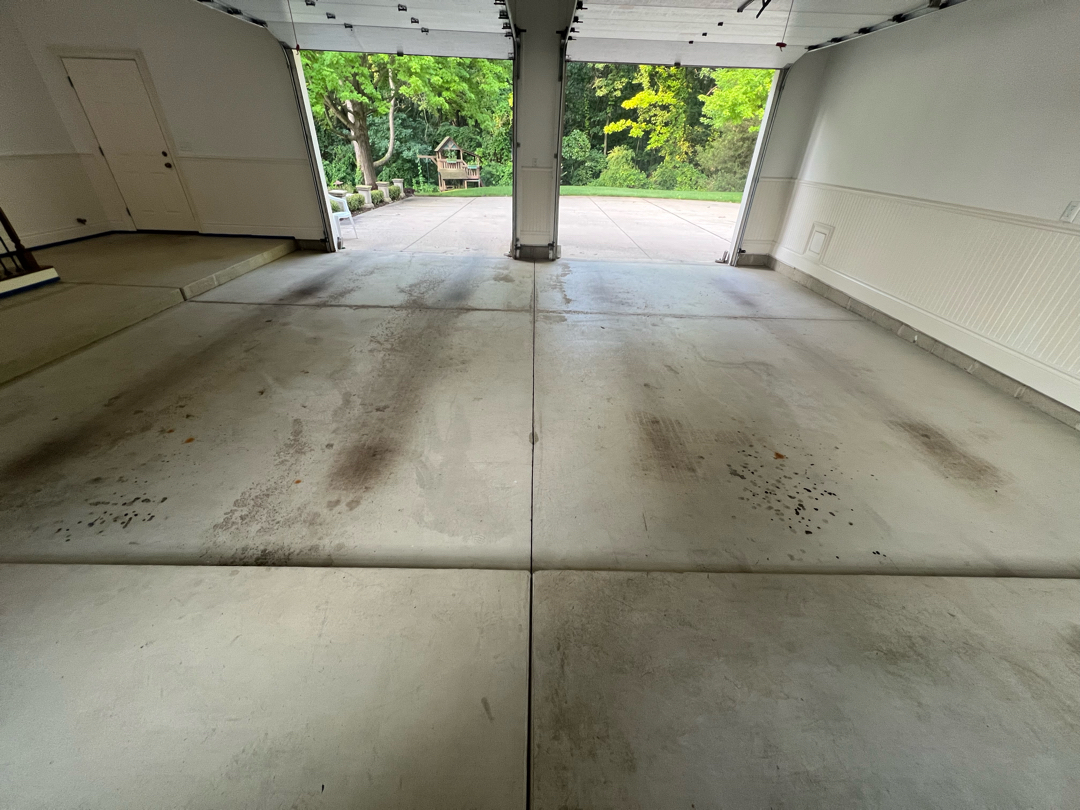
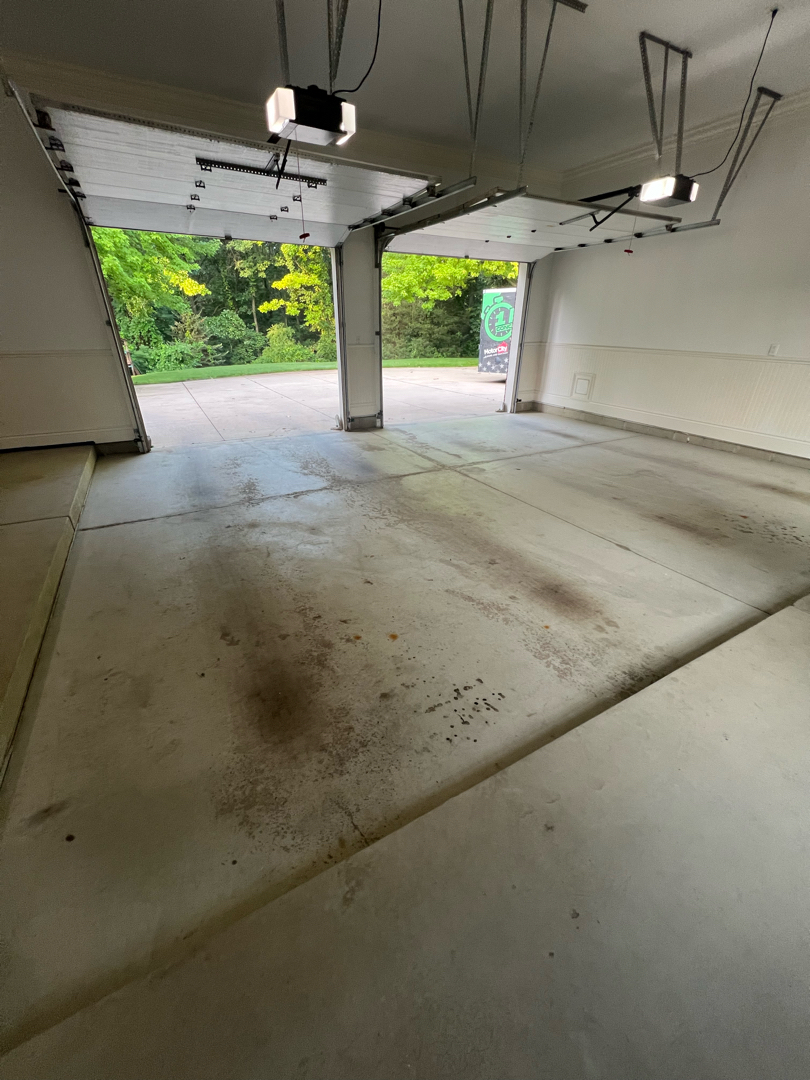
The Tall Timbers Drive garage had one feature that shaped the entire job. Sixty-four linear feet of vertical lip and concrete block wall ran along the perimeter. The slab was in reasonable condition. Moisture testing returned Mc3.4 — well within the range that allows direct coating application. Light oil near one parking position sat shallow. Light pitting spread across the field. Minor cracks ran throughout. No steps were in scope.
Our clients asked us to coat the walls without flake. They wanted a smooth surface that framed the floor without matching it. That instruction determined how we phased the coating work.
Diamond Grinding and Repairs
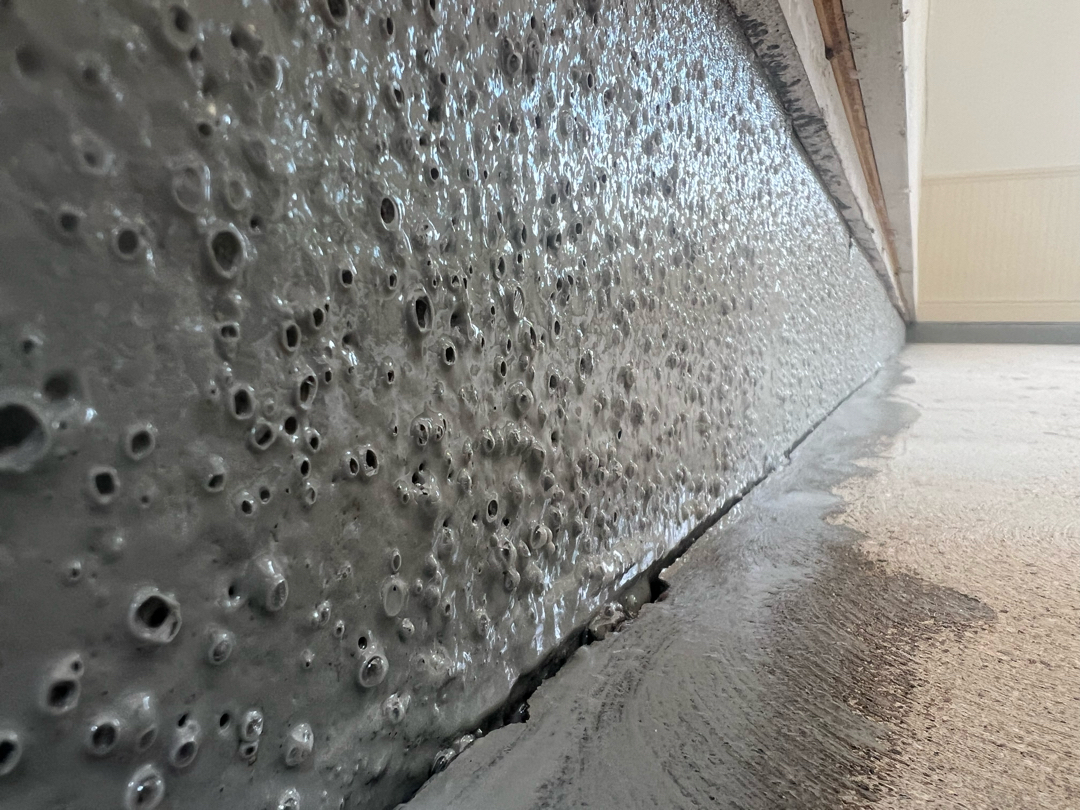
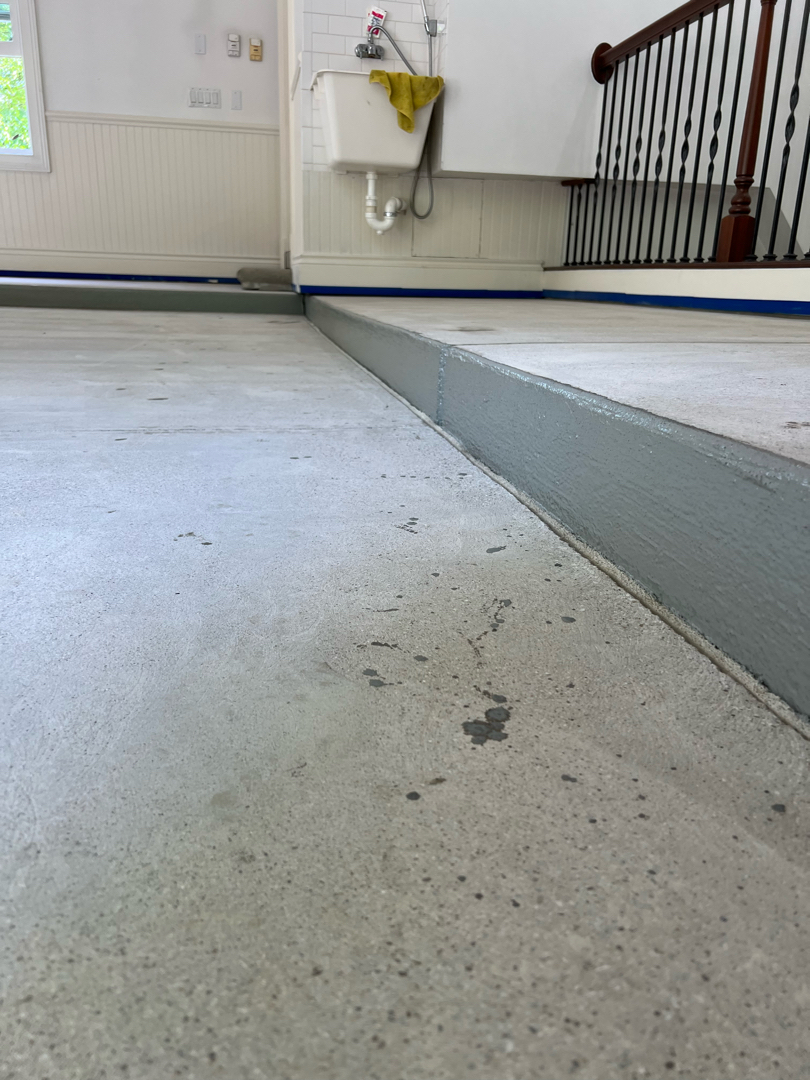
With Mc3.4 moisture and no barrier required, our crew went straight to preparation. We diamond-ground all 686 square feet with 16-grit tooling. That cut a Scratch #8 profile. The rough texture gives the polyurea base coat structural grip.
The light oil near one parking position was shallow. Our crew cleared it in the grinding pass without a separate extraction step. We vacuumed thoroughly after grinding.
Our crew troweled mender compound into each pitted area. We brought each one flush with the surrounding concrete. Our team filled minor cracks with flexible filler suited to seasonal slab movement.
Our crew hand-ground the concrete block wall along the full 64 linear feet. An unground masonry surface cannot hold a polyurea bond. We worked each face carefully before coating began.
Phased Coating — Floor and Walls Separated
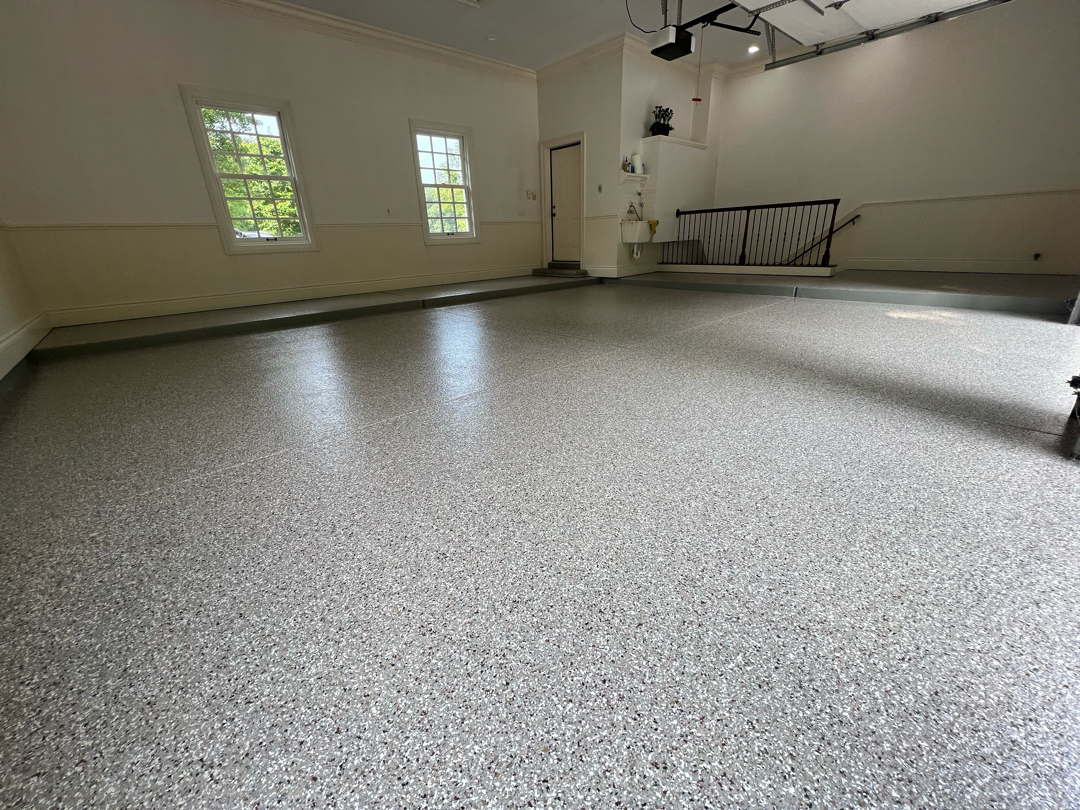
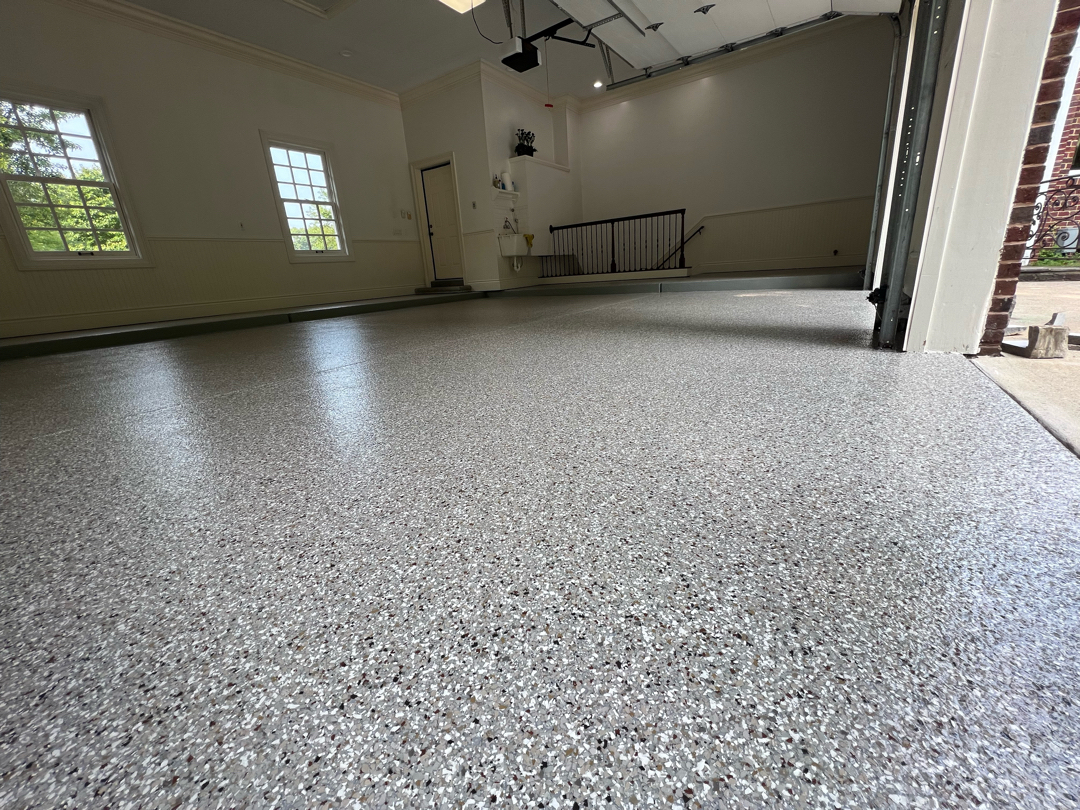
Our clients asked for the verticals to carry the coating without flake. That required treating floor and walls as separate phases. Our crew taped off the vertical seam.
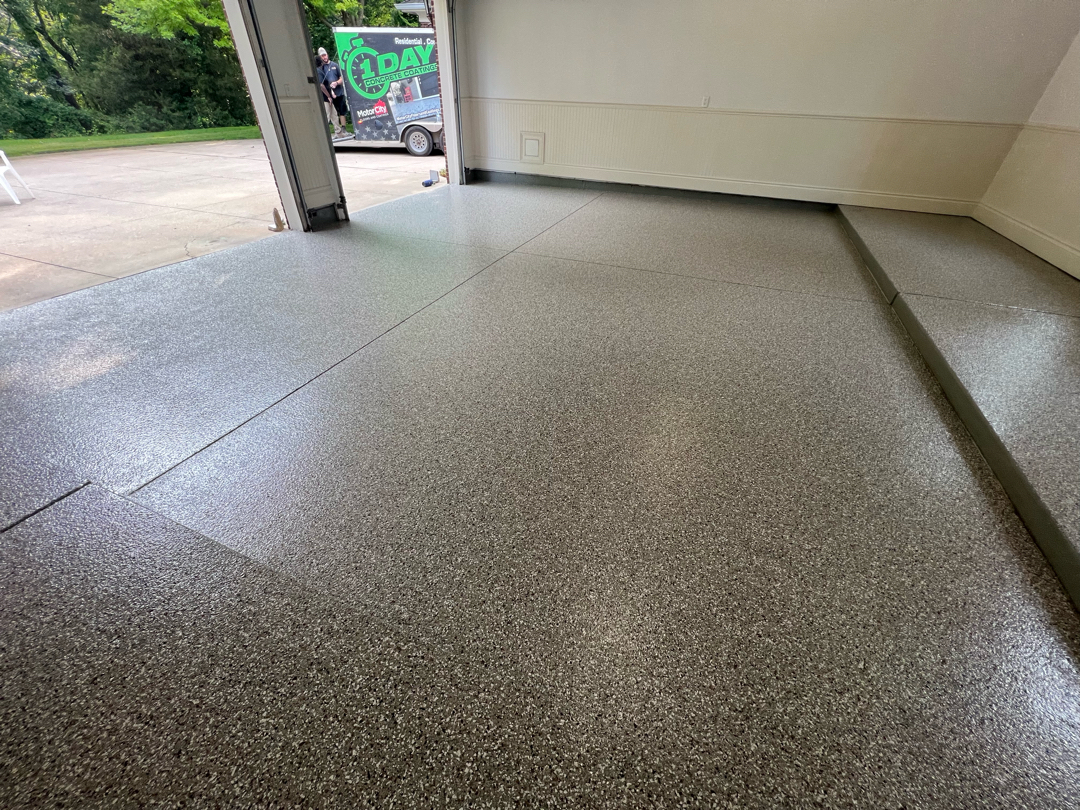
We applied the polyurea base coat by roller across all 686 square feet of floor. Our crew broadcast Pebble Beach flake into the wet base coat. It covered the full floor surface.
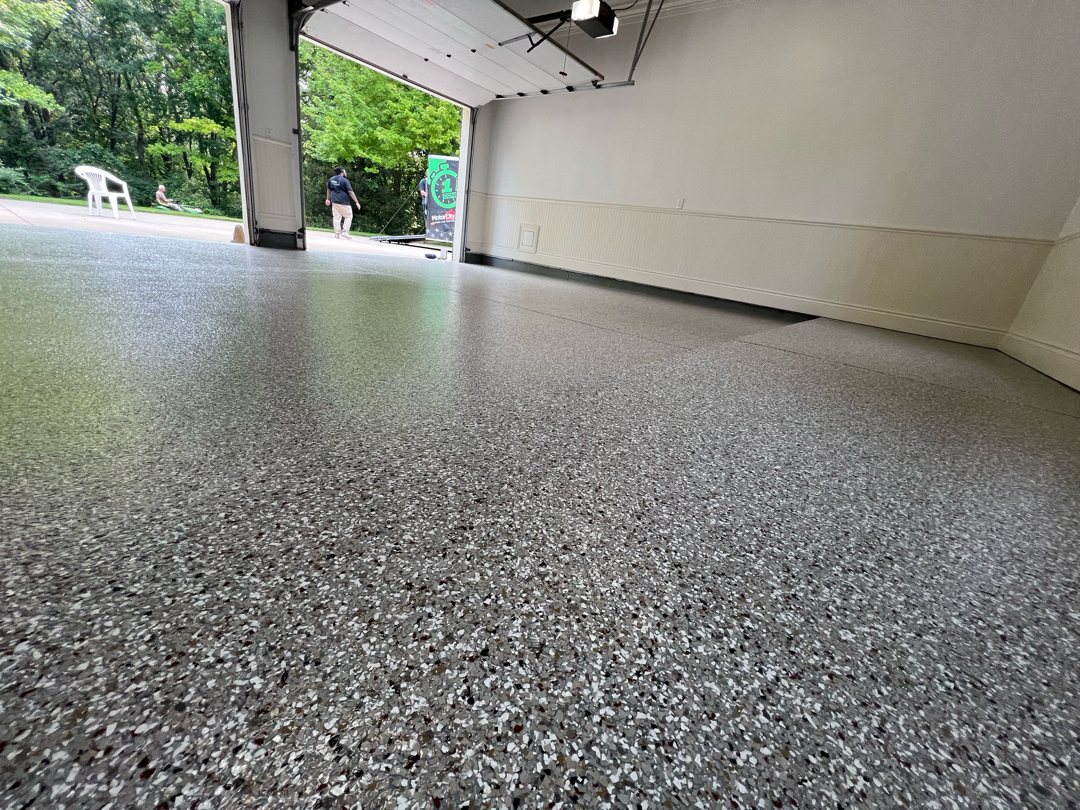
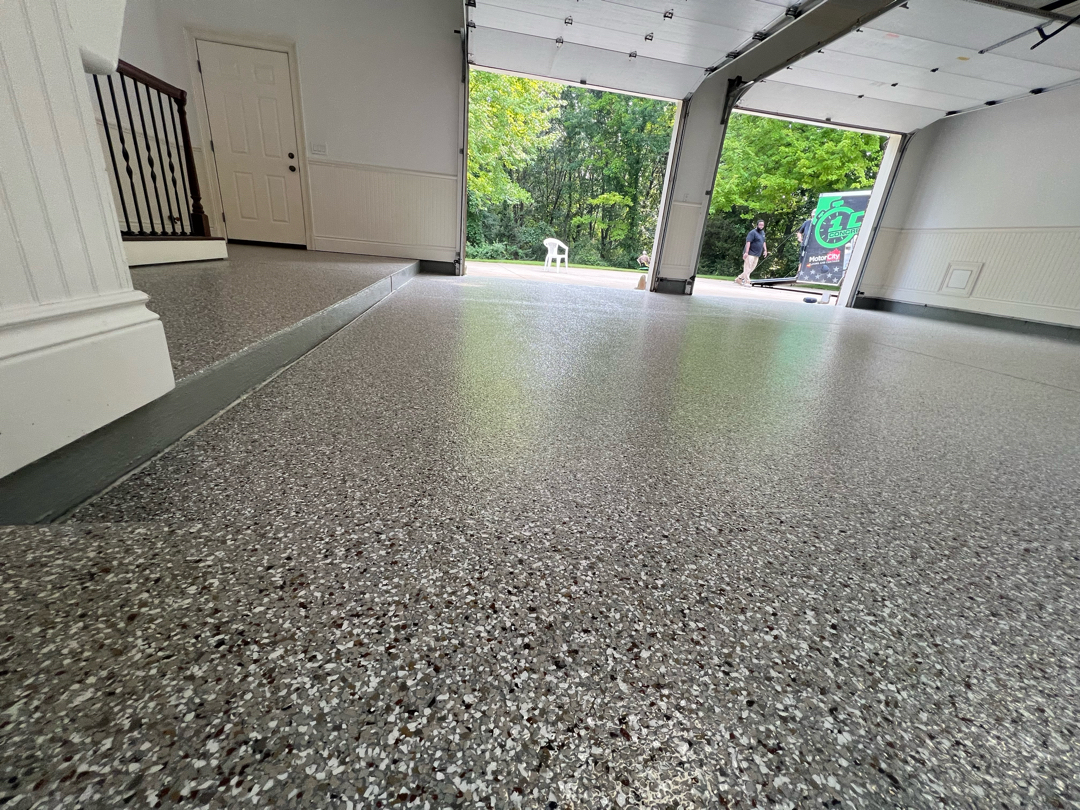
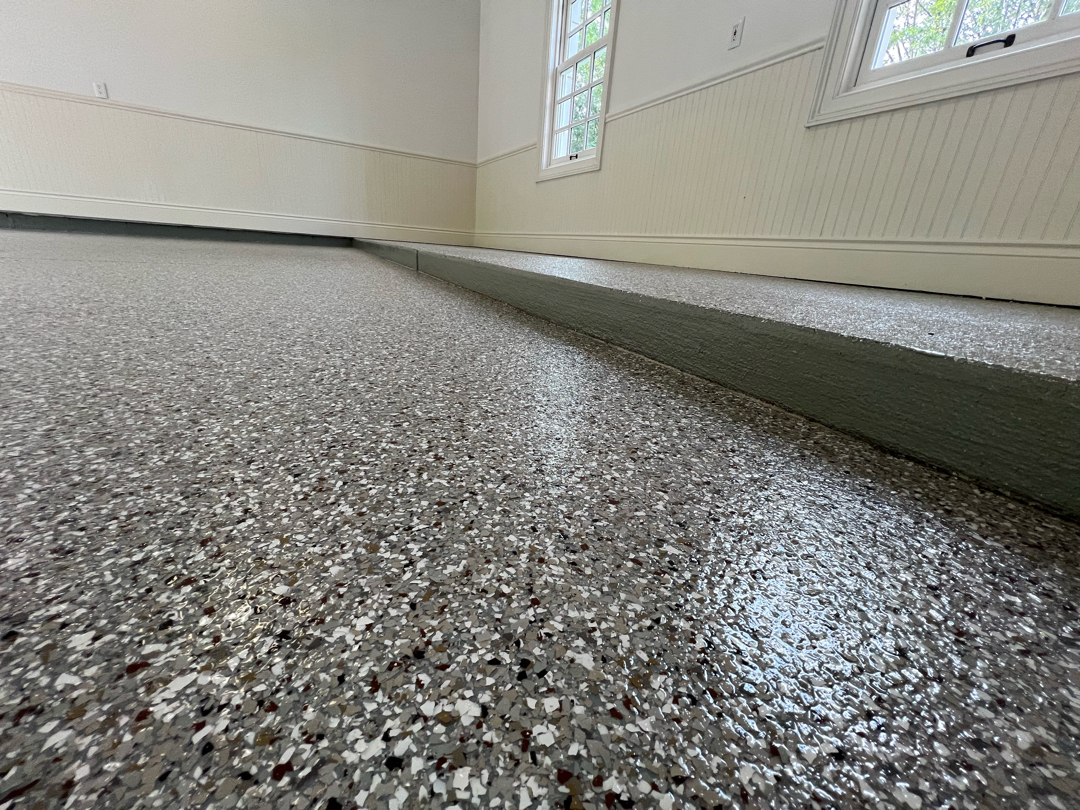
After the base coat reached gel point, our team recovered the excess flake. The seam tape came off. Our crew then applied a second base coat pass across the block wall verticals. We broadcast no flake on the walls.
With both phases cured, our crew applied the polyaspartic topcoat in one coordinated pass. It locked the flake into the floor. It sealed the clean base coat on the walls. Traction additive ran throughout.
Flake Stops Where It Should
Garage Floor Coating
on Balsam Way
Balsam Way, Milford Charter Township, MI
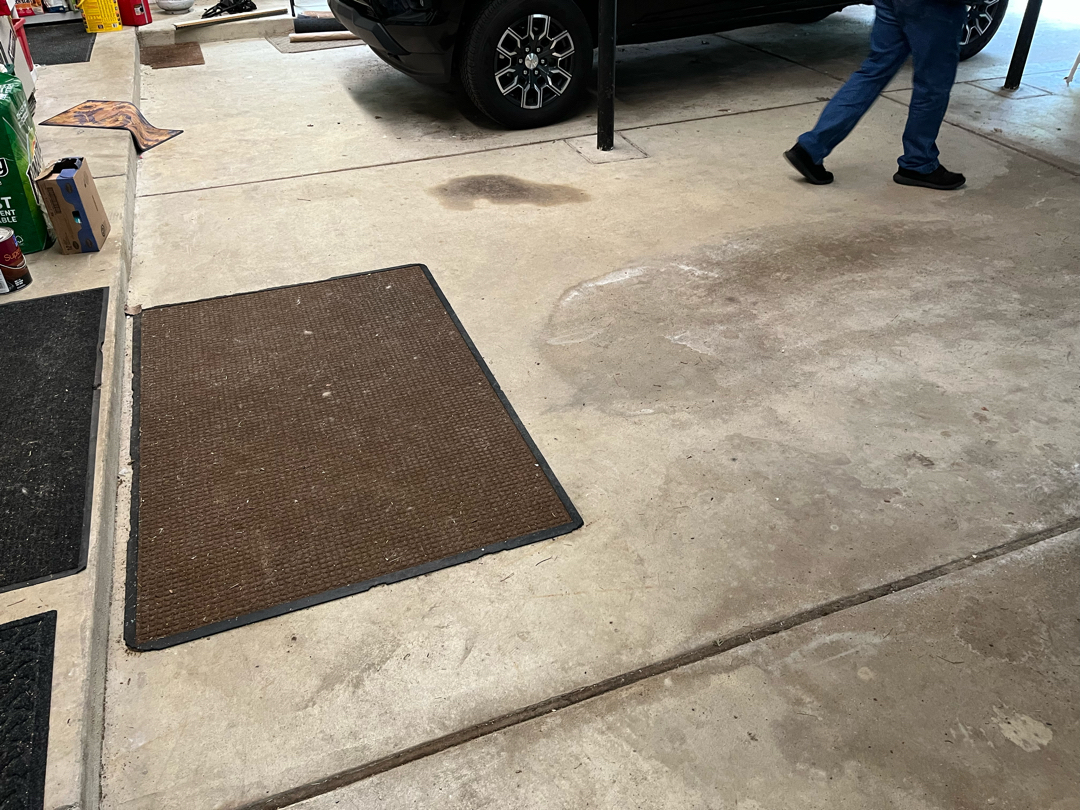
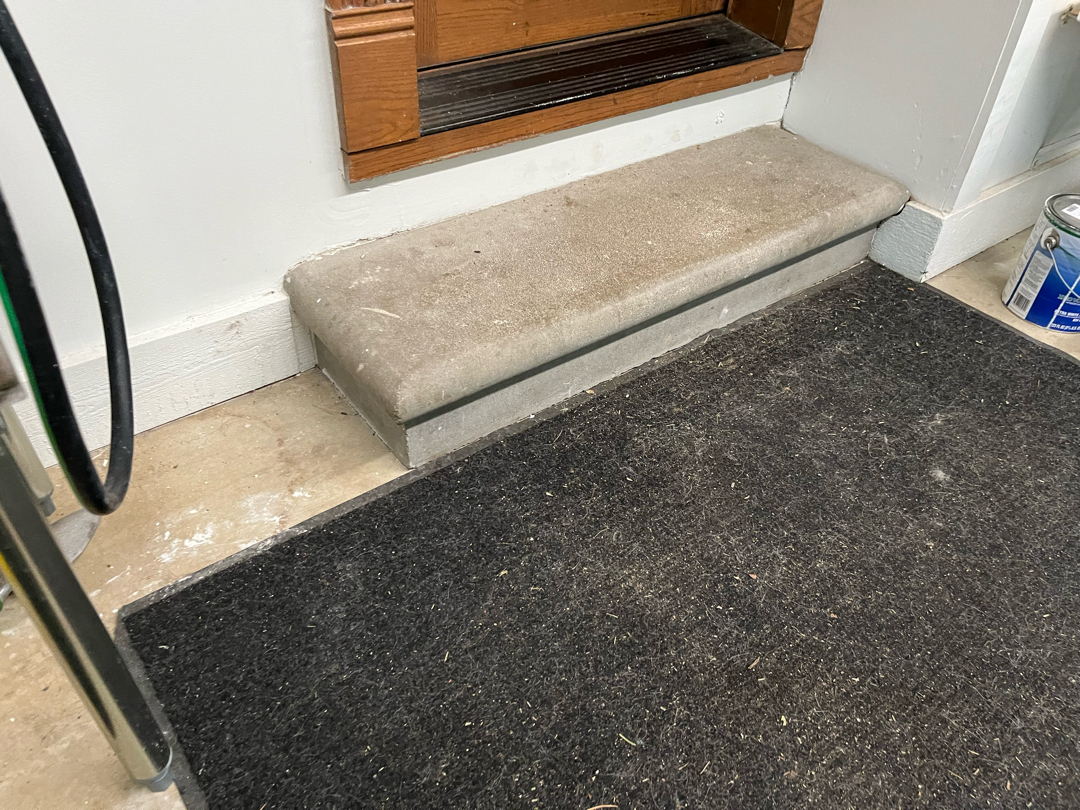
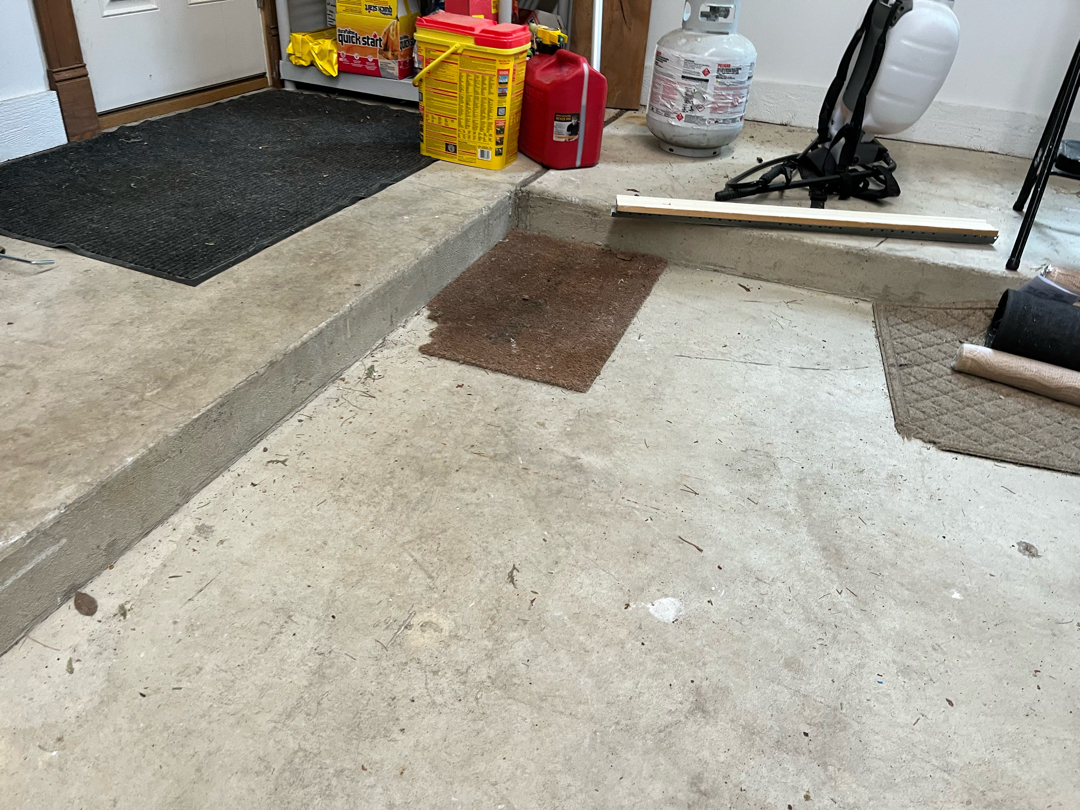
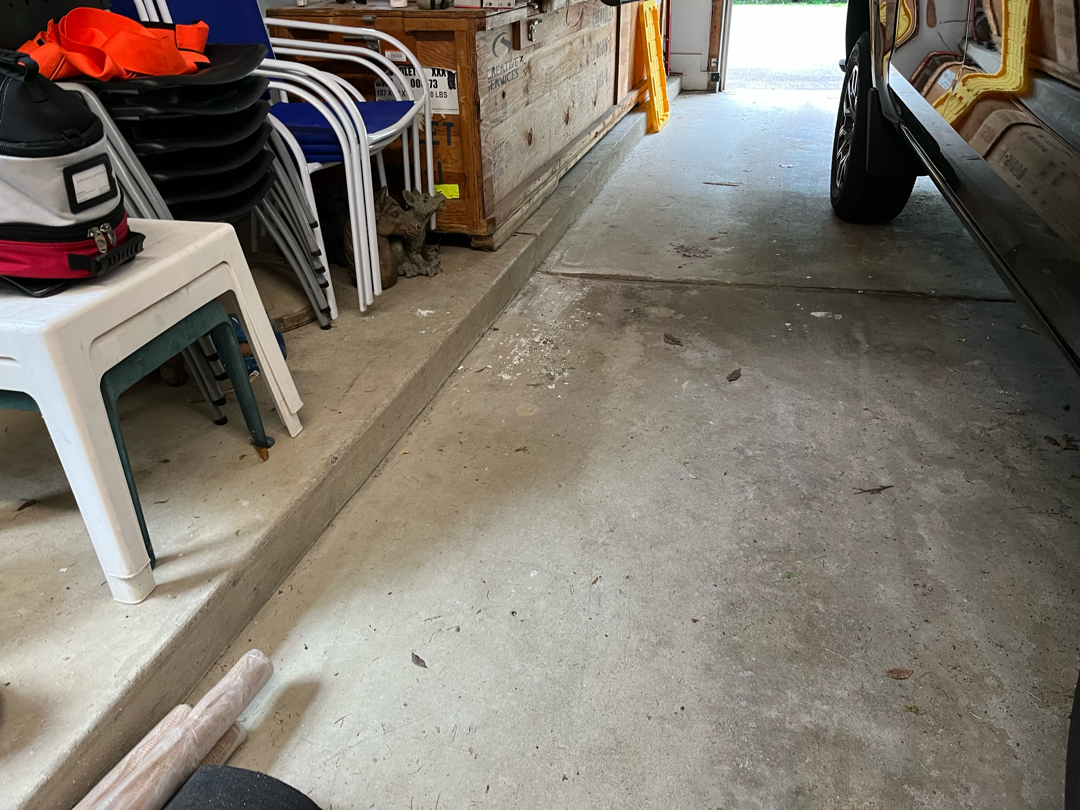
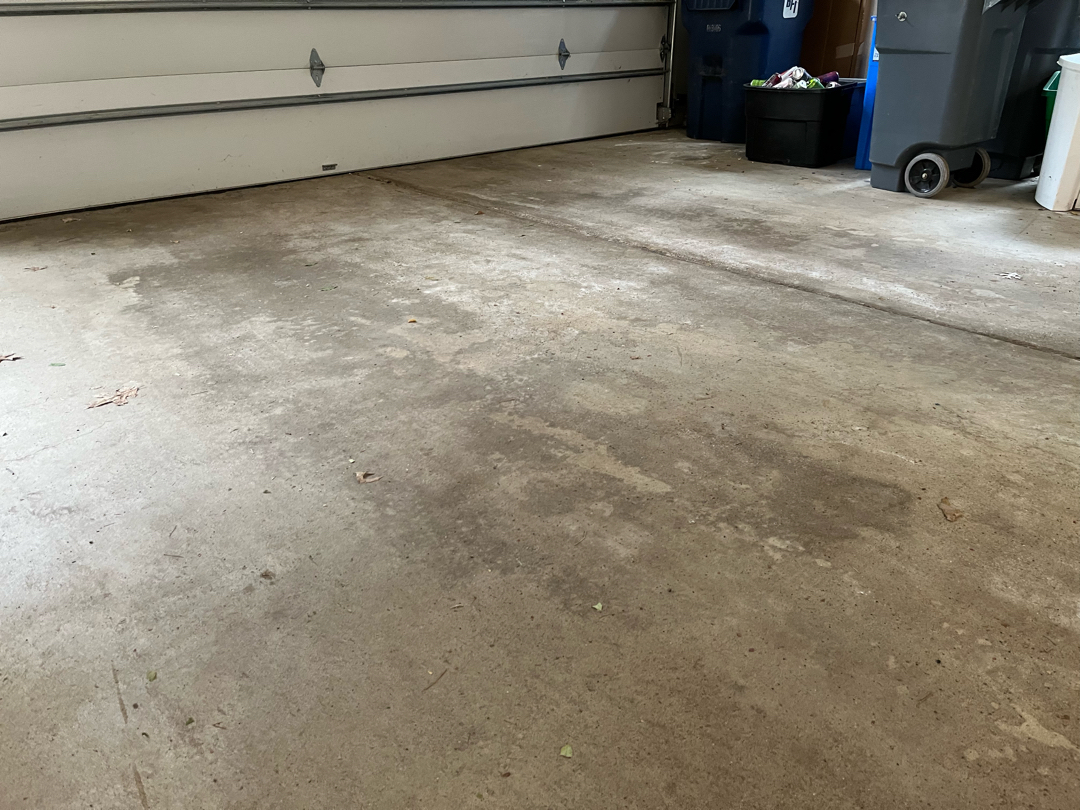
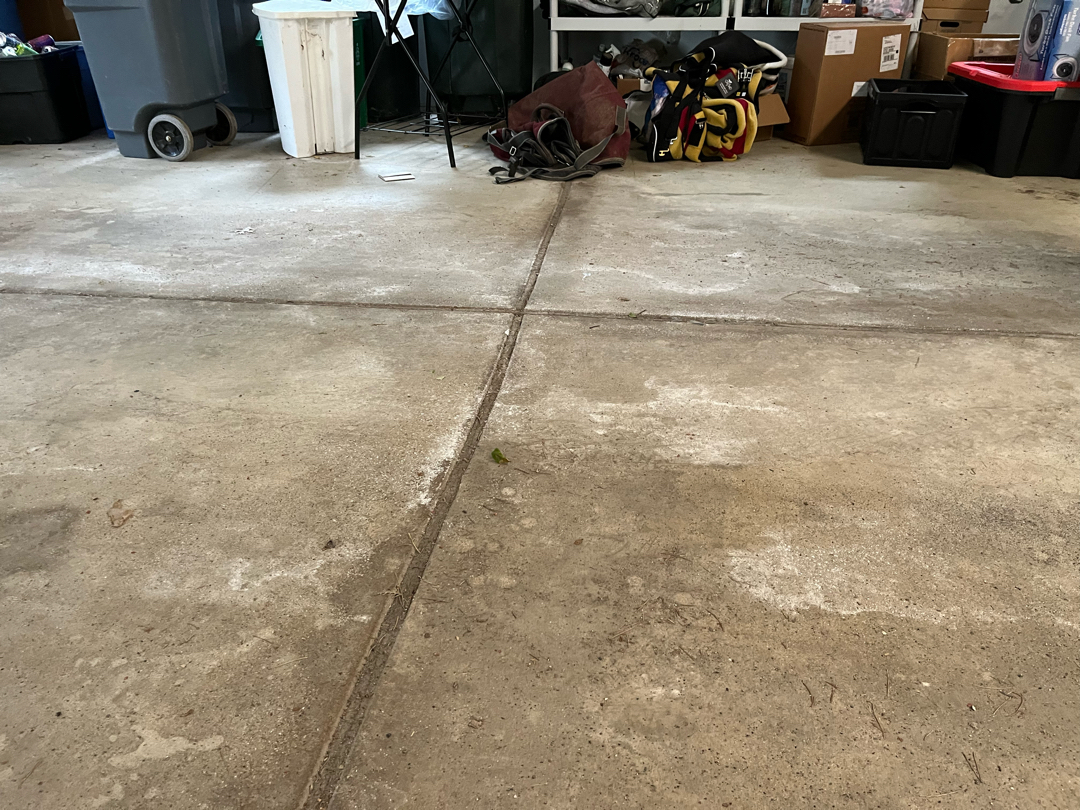
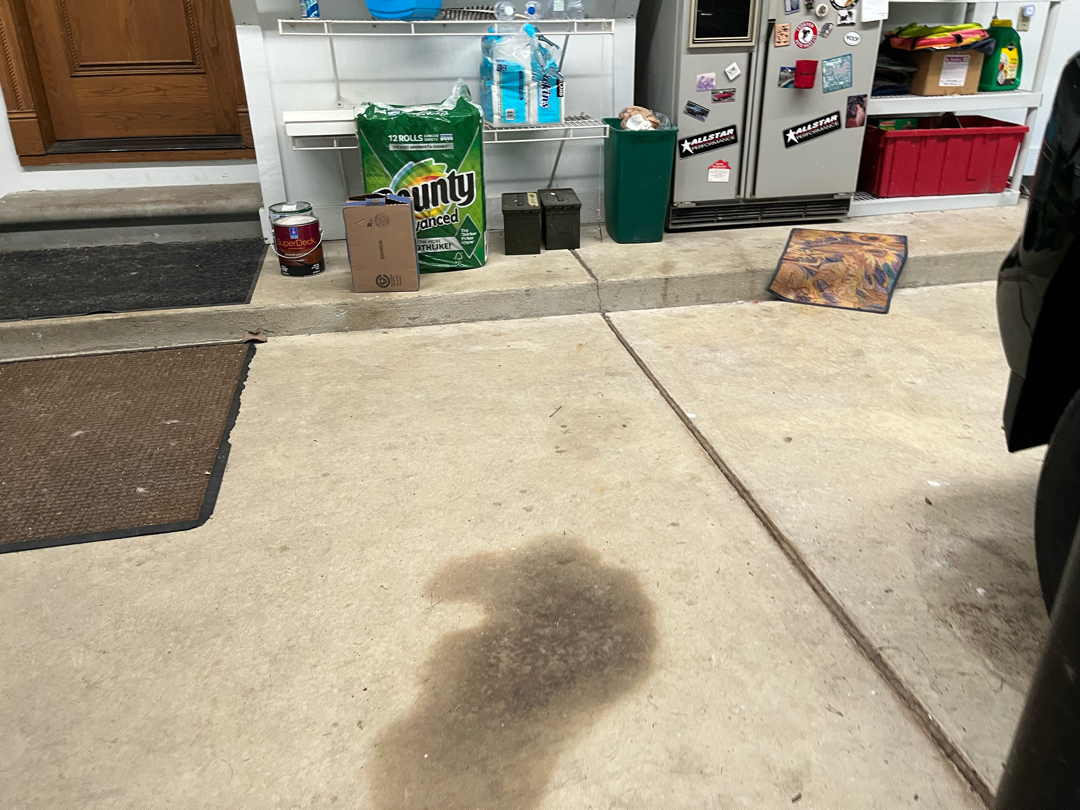
The Balsam Way garage came in at 1,231 square feet. That put it among the larger residential coating projects our crew handles in this area. The scope included 61 linear feet of vertical lip and one concrete entry step. Scale matters on a project this size. Anything skipped in preparation shows up eventually as delamination.
This slab carried confirmed deep oil contamination across multiple zones. Pitting and cracking spread across the surface. Moisture testing returned Mc4 — within the acceptable range for direct coating application.
Oil Extraction
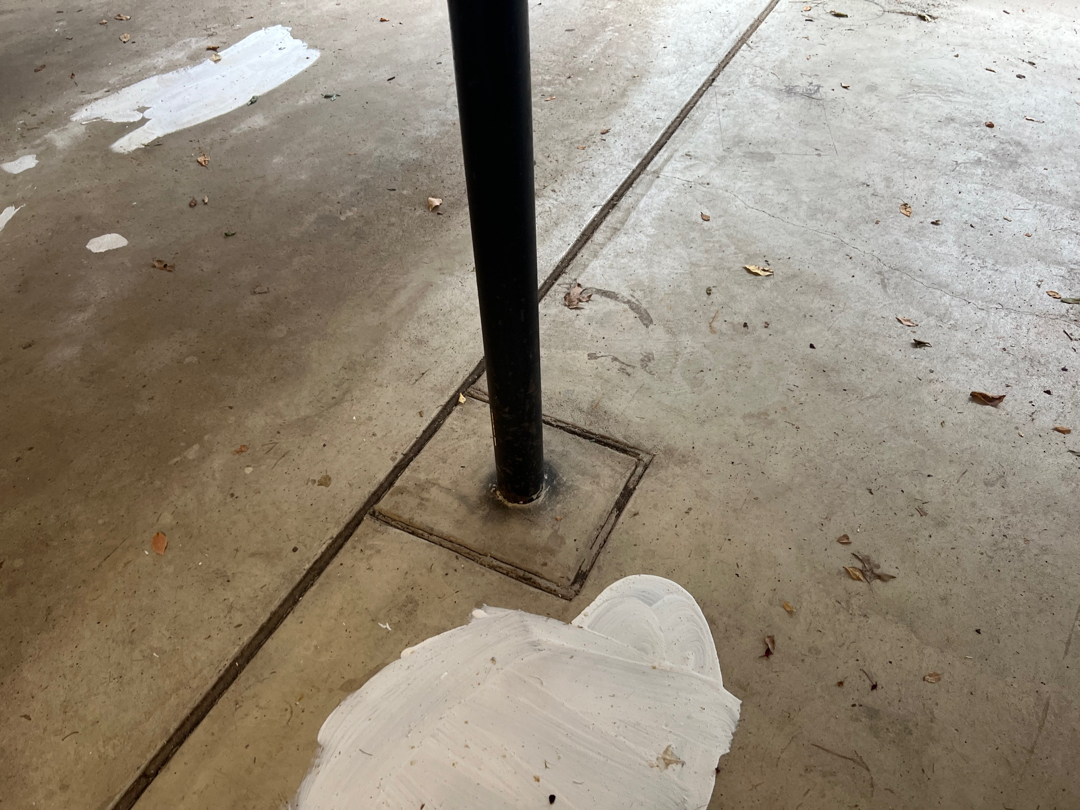
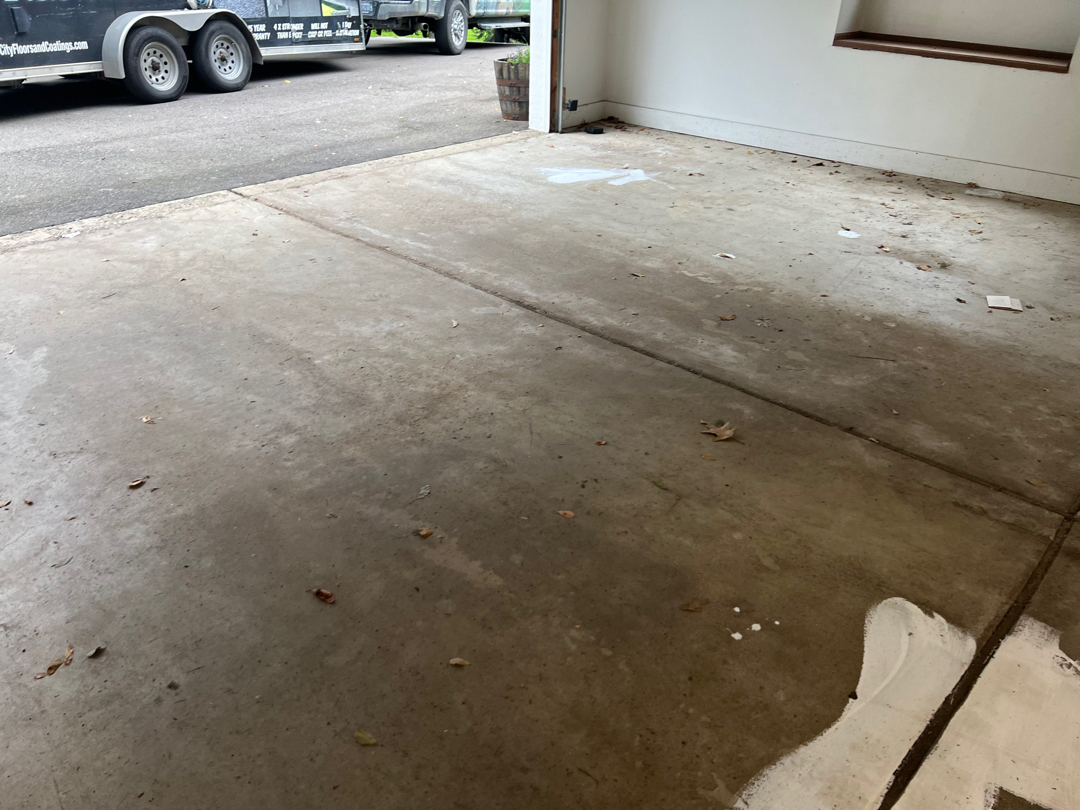
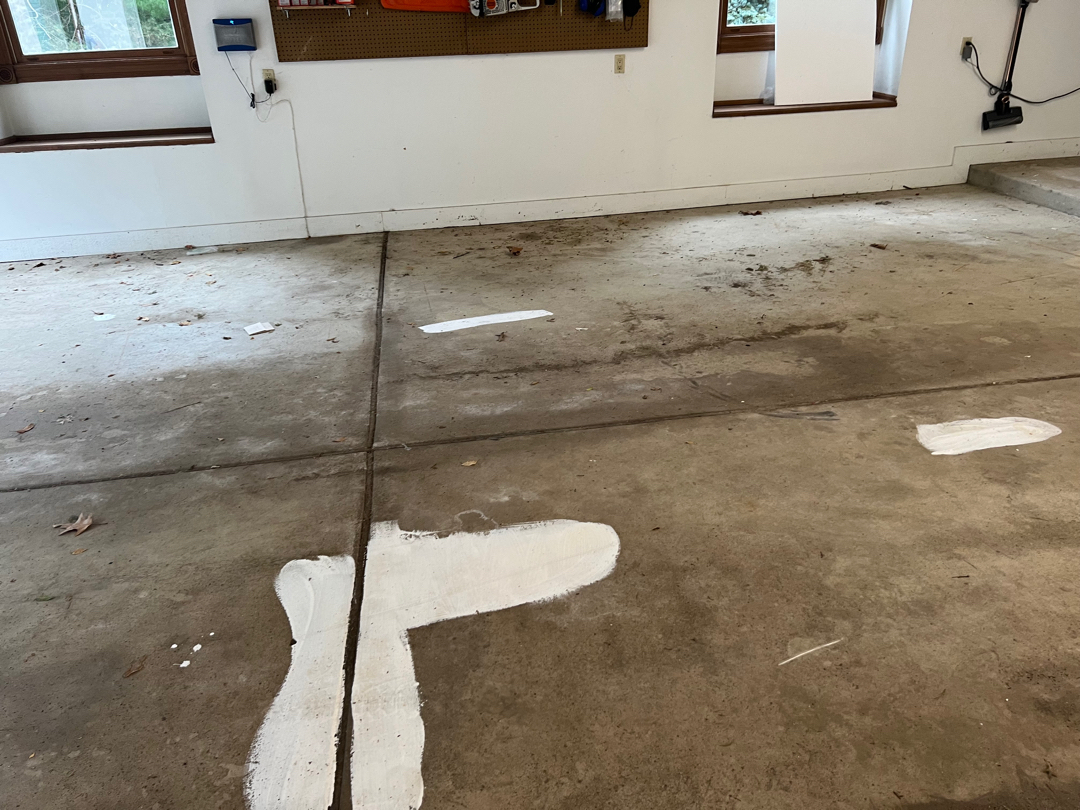
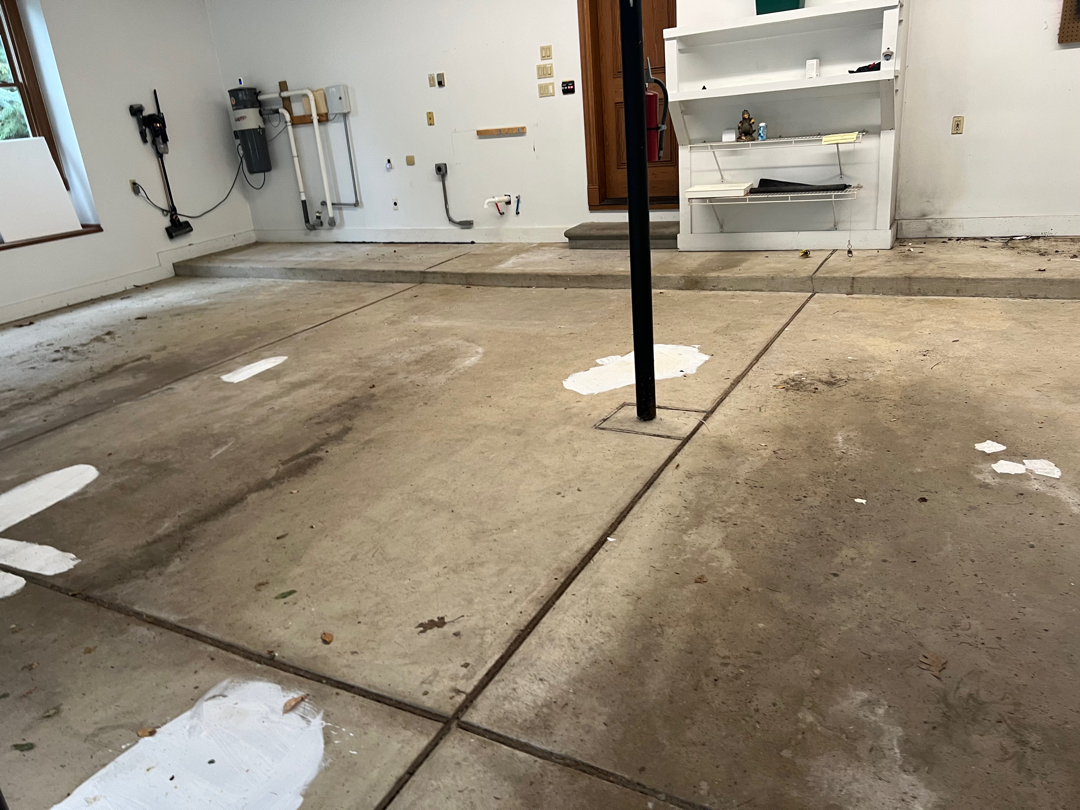
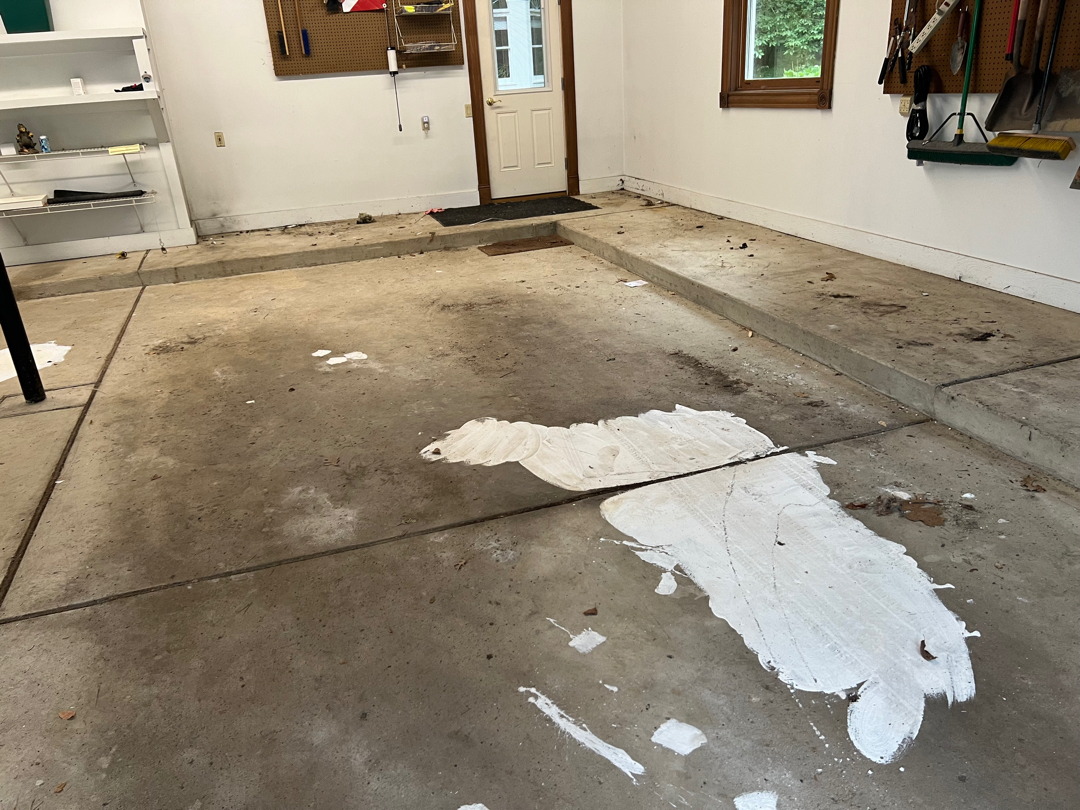
Diamond grinding does not reach oil below the surface. Our crew grinds off the laitance and opens the pores. It cannot draw petroleum out of the concrete body.
Oil left under a coating migrates upward over time. It breaks the bond from below. Good surface prep alone does not stop this.
Our crew applied a petroleum drawing compound across all contaminated zones. The compound pulls petroleum up to the surface. We removed it along with the drawn-out oil.
After extraction, the treated zones turned noticeably lighter. That lighter color confirmed the oil was gone.
Grinding, Crack and Pitting Repair
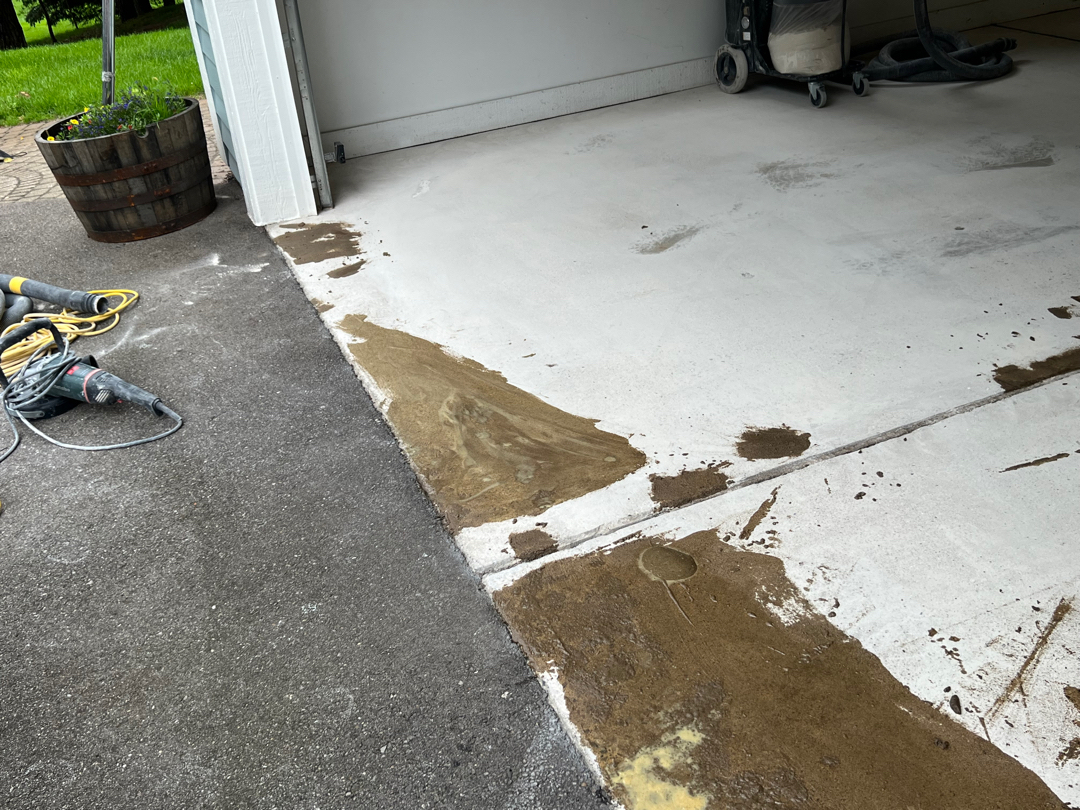
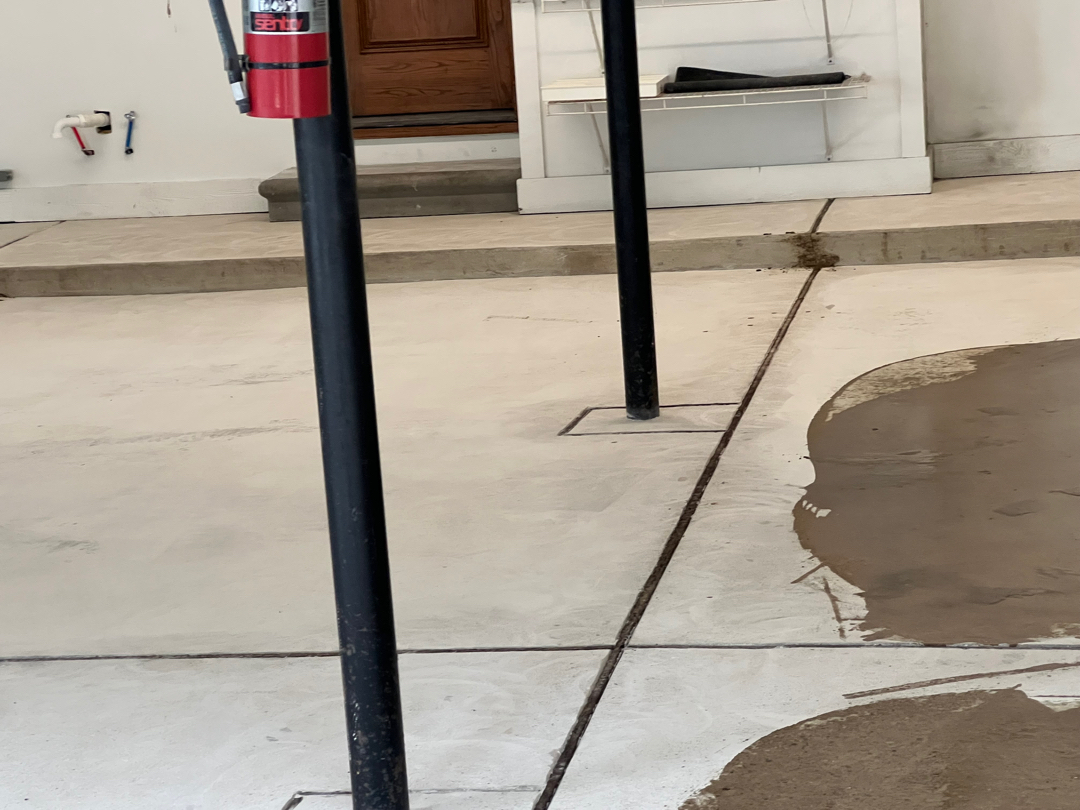
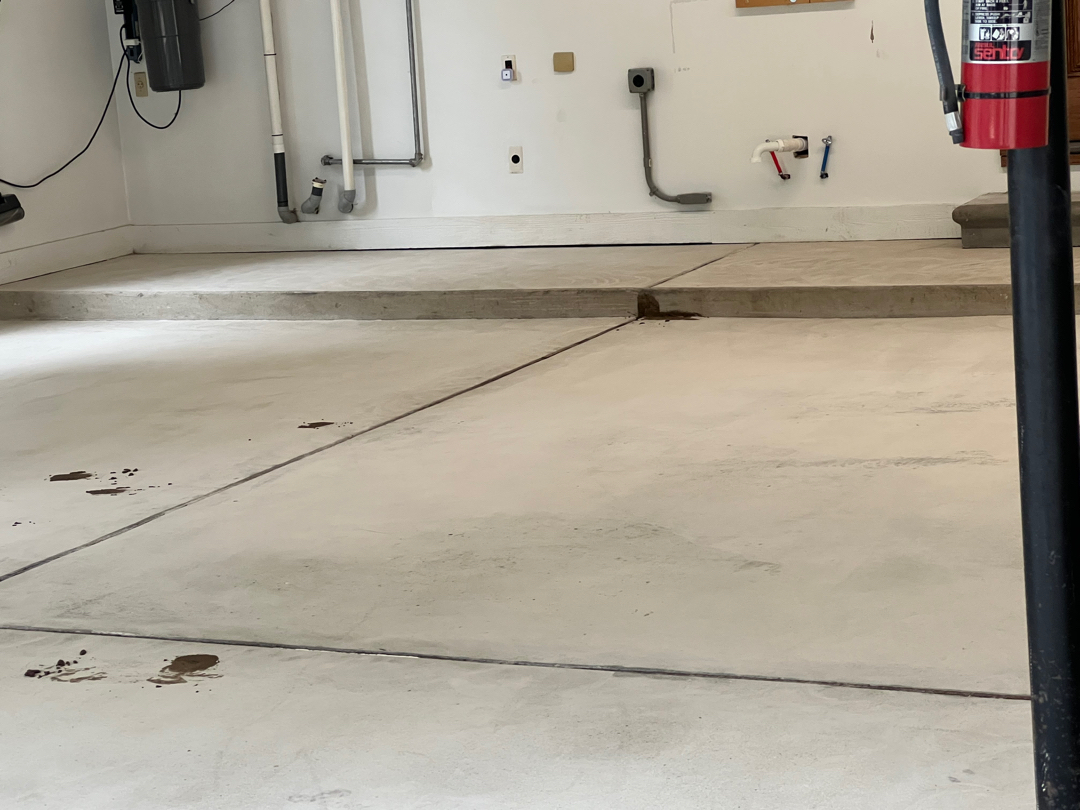
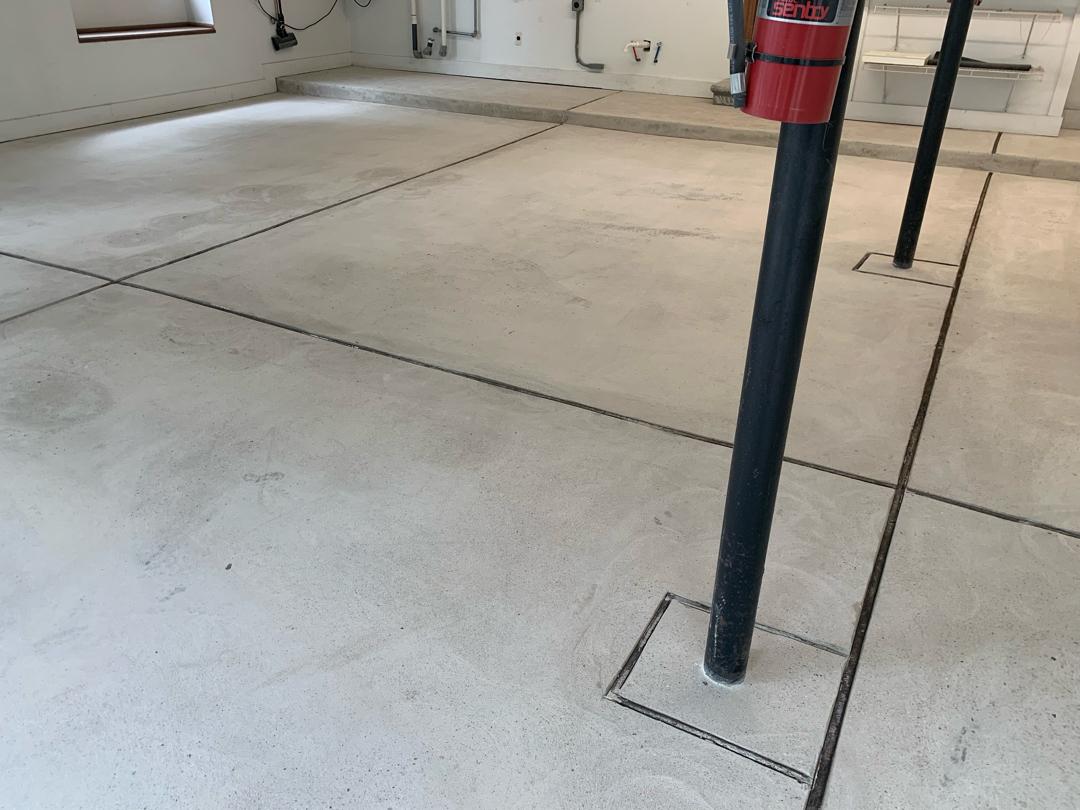
Our crew diamond-ground all 1,231 square feet with 16-grit tooling. That cut a Scratch #7 profile across the full slab. We worked from end to end and vacuumed thoroughly after each pass.
Our crew hand-ground both the tread and the riser face of the concrete entry step. We brought it to the same surface profile as the main floor.
Our crew filled every crack across the field with flexible filler. We worked it into each seam and allowed full cure before coating began. Our team troweled mender compound into the pitted areas throughout the slab. We brought each one flush and allowed full cure.
Smoke on 1,231 Square Feet
Our crew applied the polyurea base coat by roller across all 1,231 prepared square feet. We cut in the 61 linear feet of vertical lip by hand along the perimeter.
Our crew broadcast Smoke flake into the wet base coat across the floor and lip. Our team applied base coat to both the tread and riser of the entry step. We broadcast flake across the step at the same time as the main floor.
After cure and excess flake recovery, our team applied the polyaspartic topcoat across all surfaces. Traction additive ran throughout — floor, lip, and step together.
Oil Gone, 1,231 Square Feet Sealed
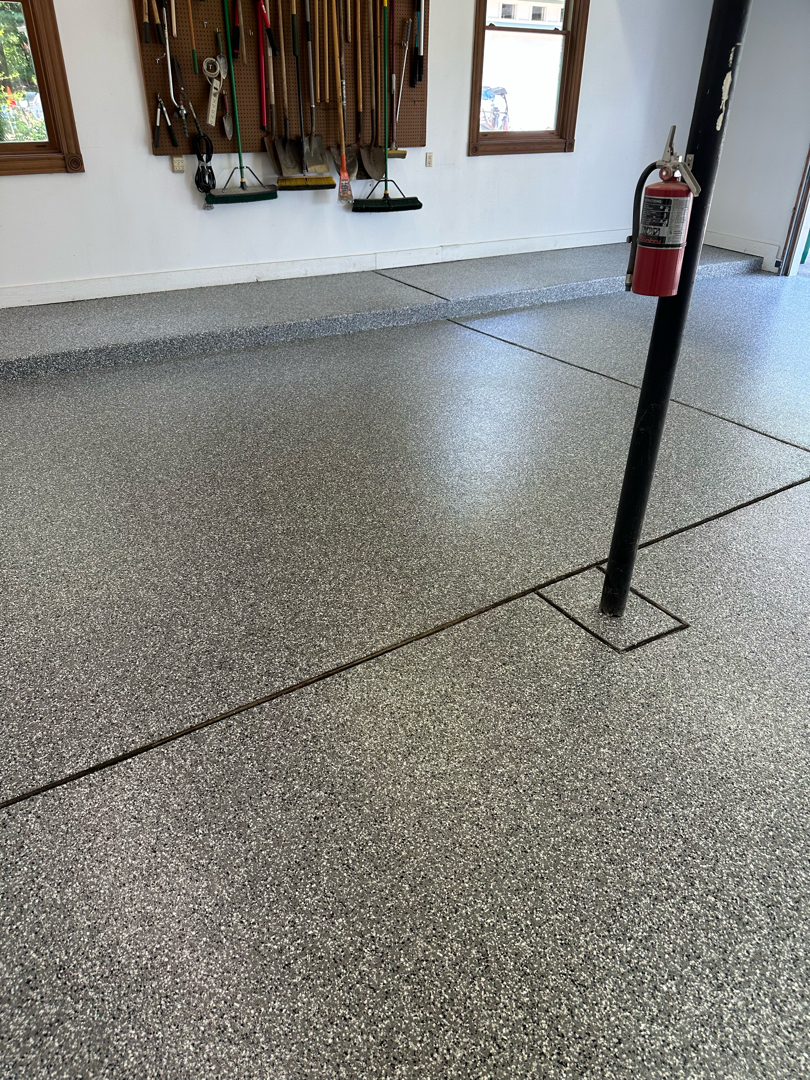
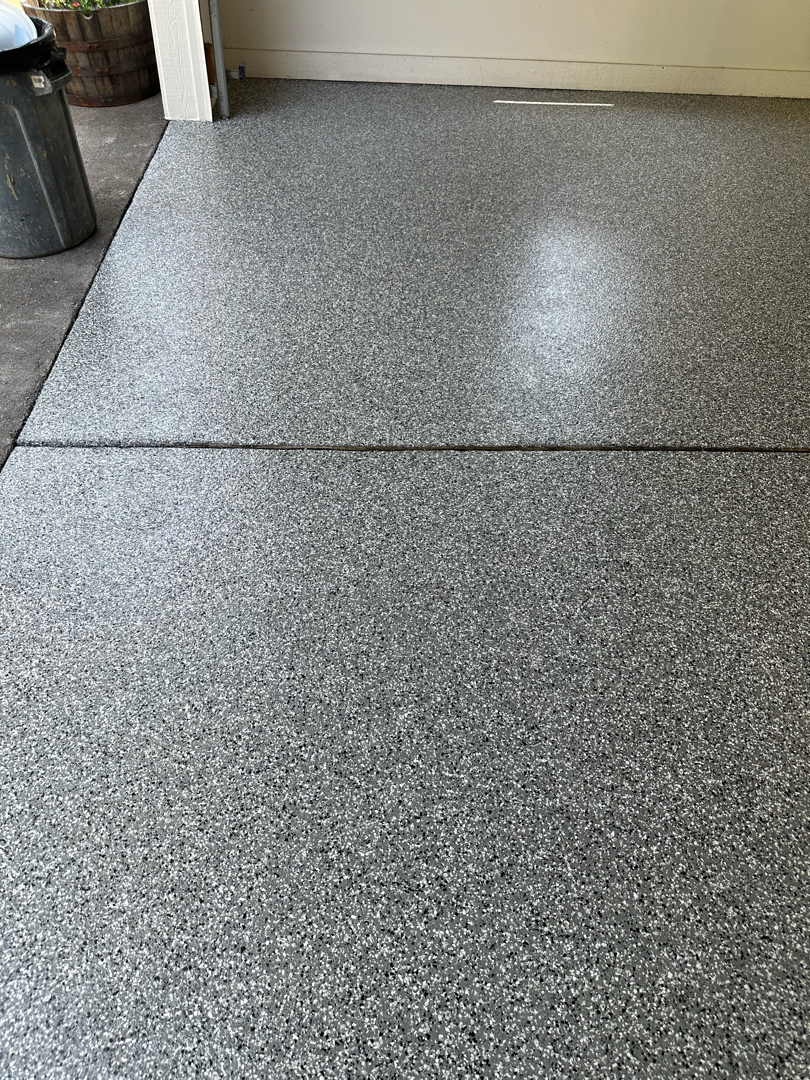
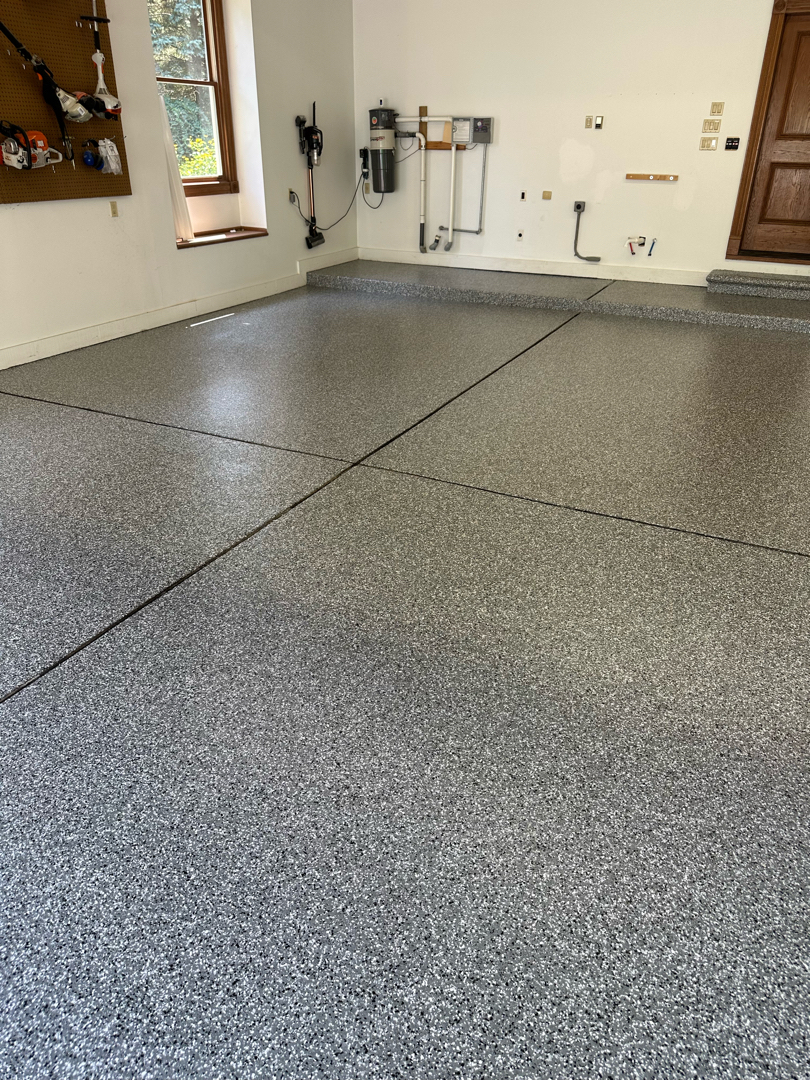
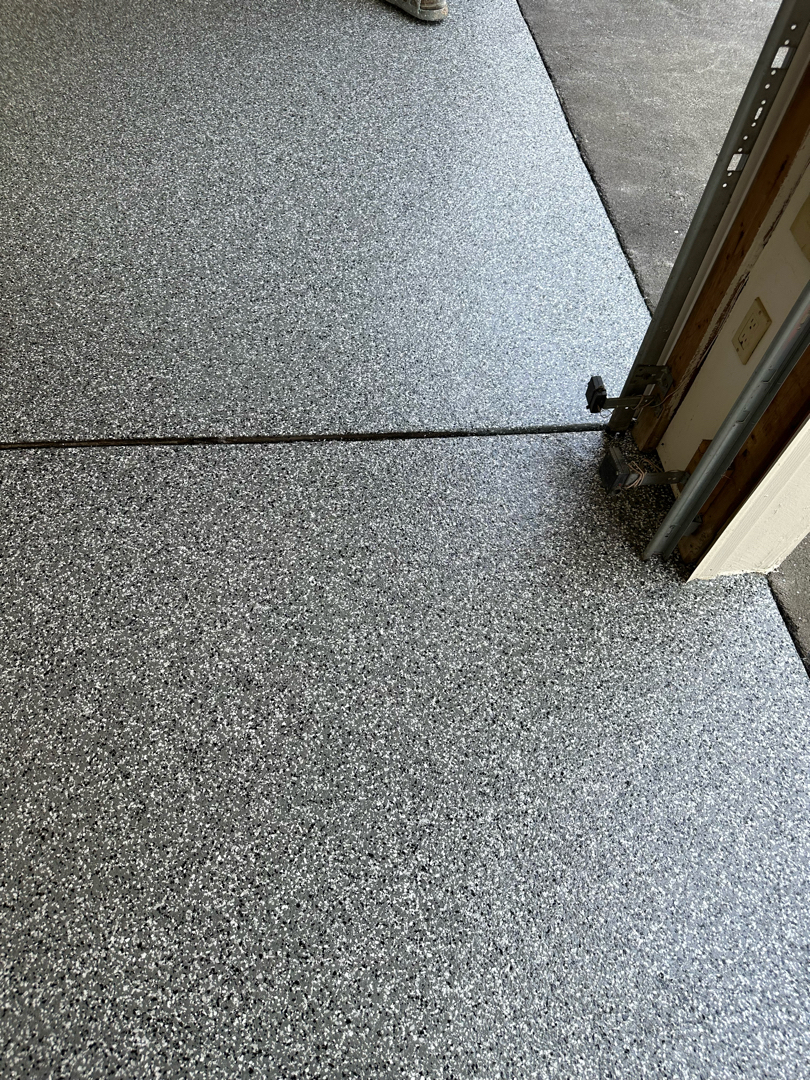
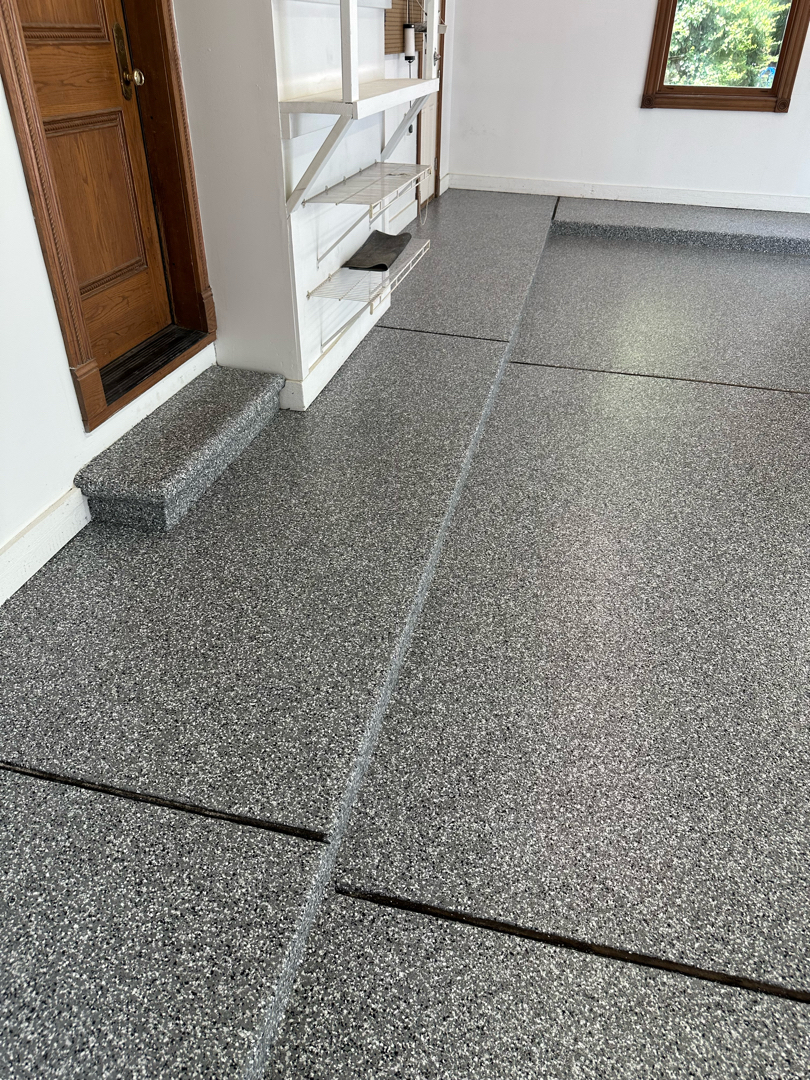
Smoke runs continuously across all 1,231 square feet — floor, lip, and step in one surface. The cool grey reads with a settled presence at this scale. The step integrates without a visible break. The oil contamination, cracking, and pitting are sealed beneath the system. The extraction cycle is what made the bond possible.
Testimonials - What other clients say
Danielle MacLeod
Jillian Doss
Garage Floor Coating
on Balsam Way 2
Balsam Way 2, Milford Charter Township, MI
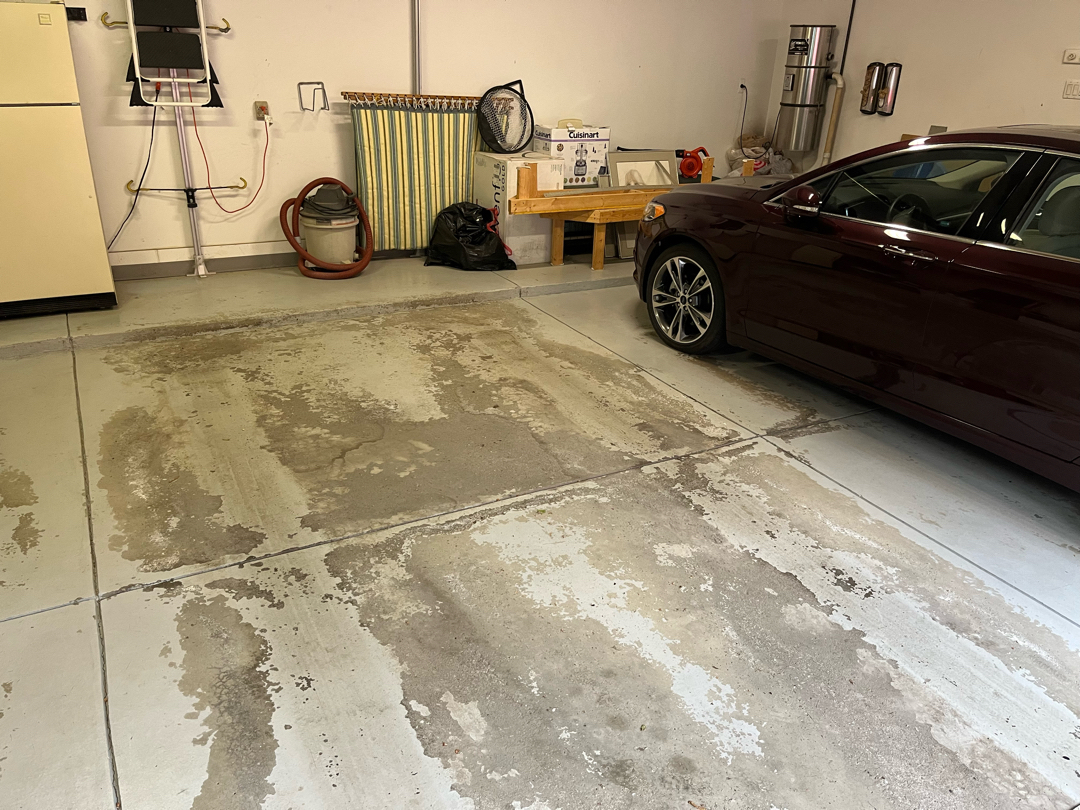
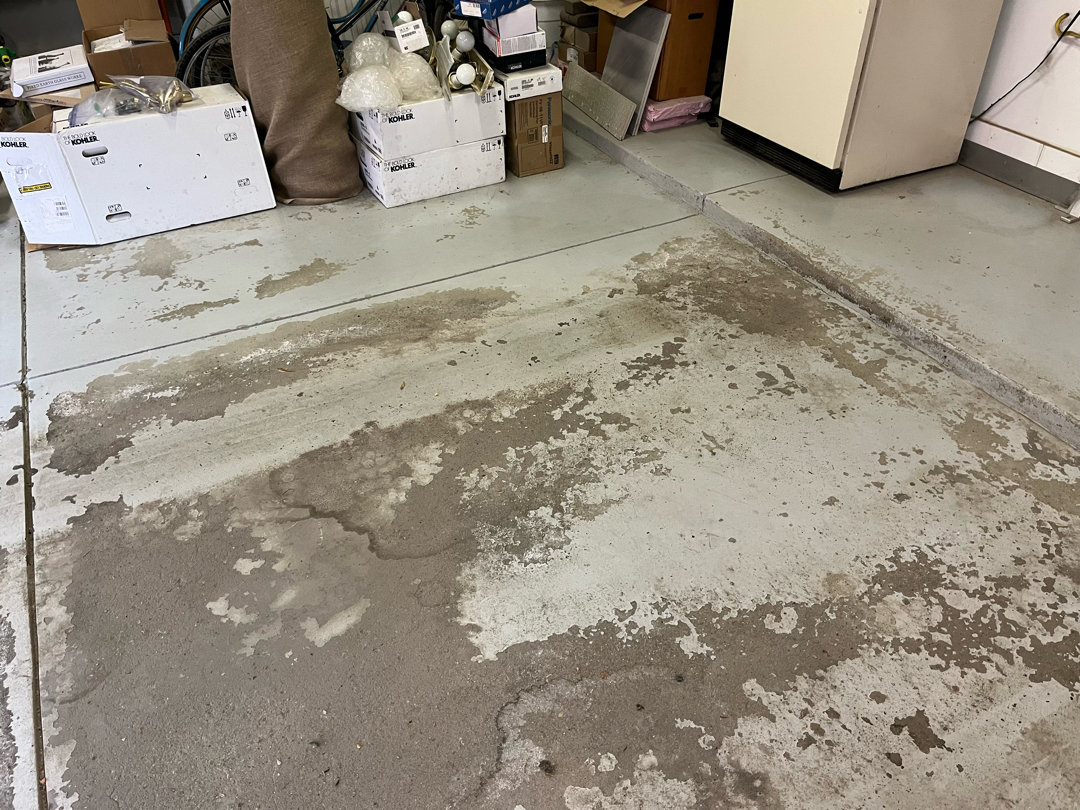
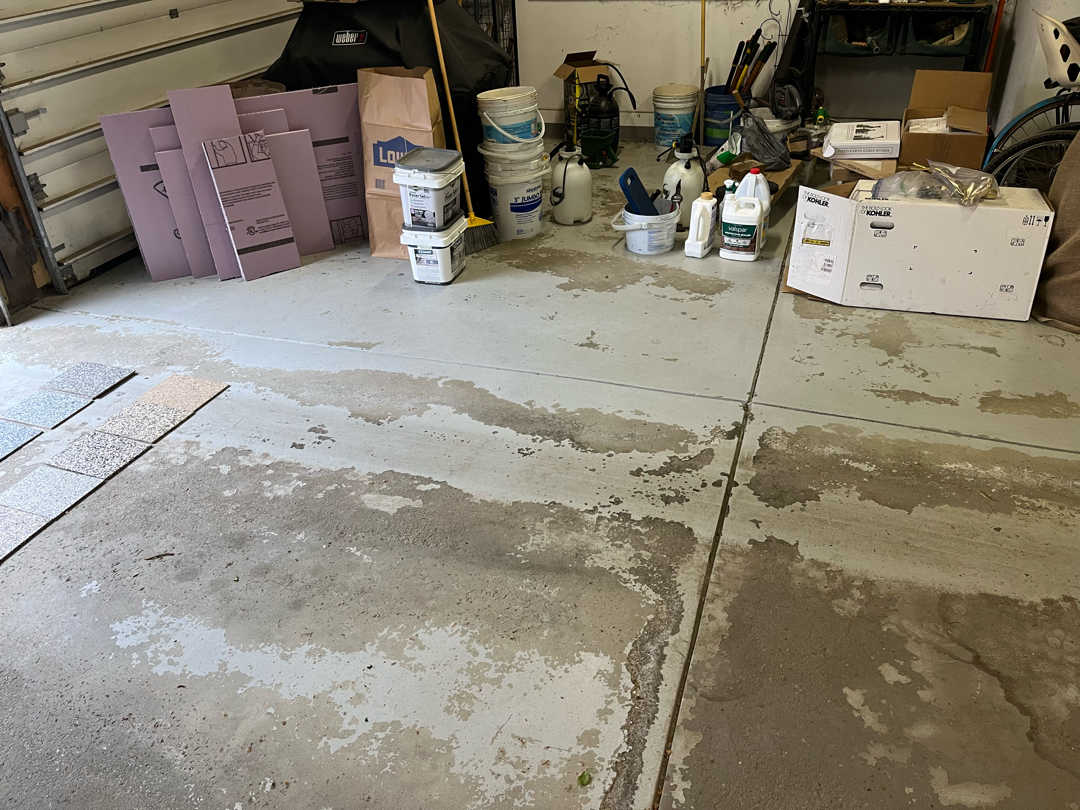
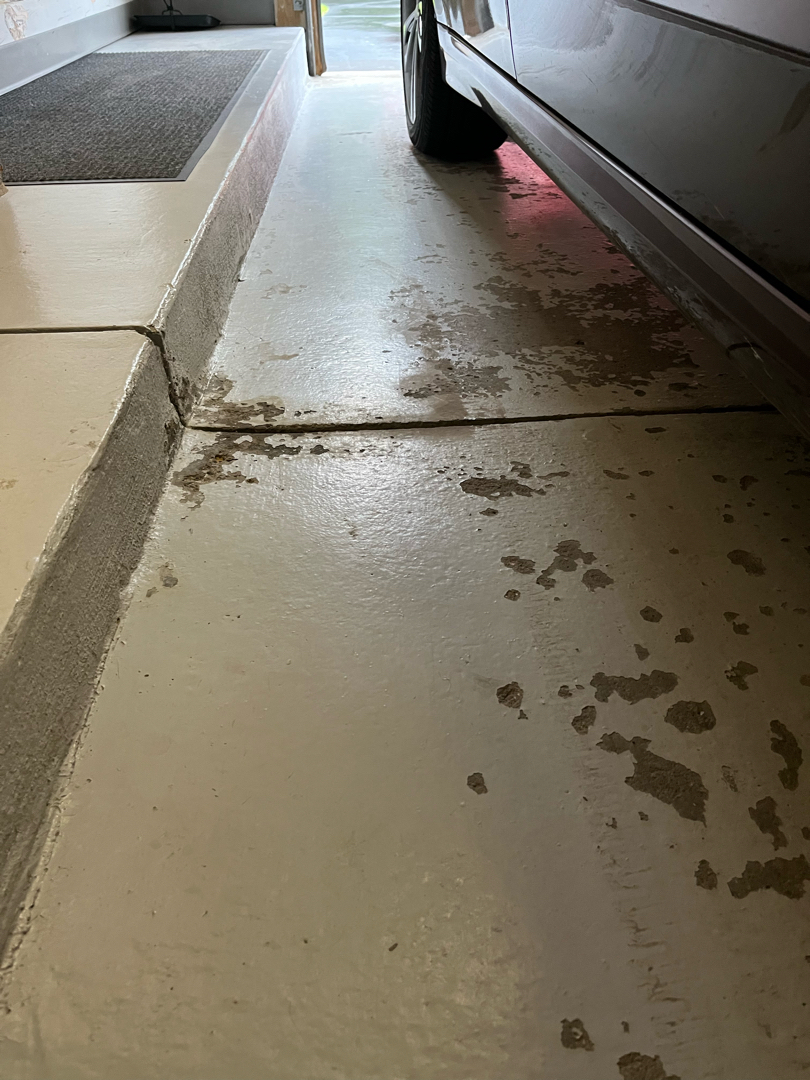
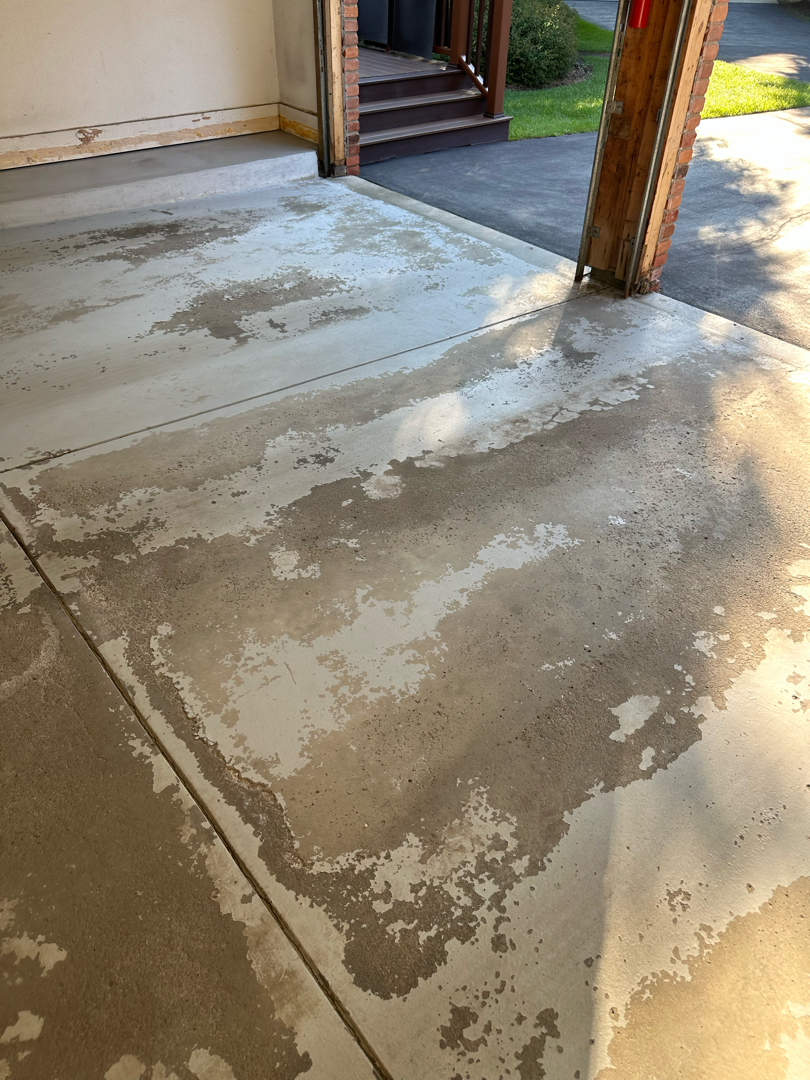
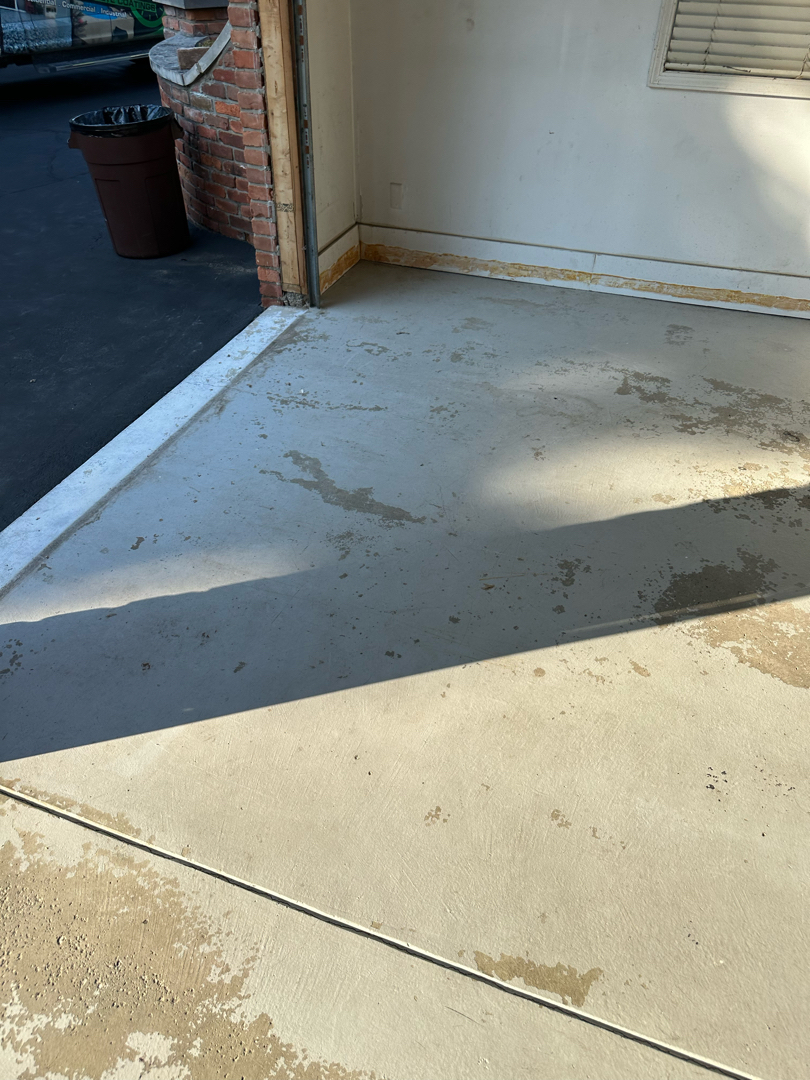
The second Balsam Way property arrived with different conditions from the first. The slab was not raw concrete. A 15-year-old epoxy coating covered all 718 square feet. It was yellowing. At the control joints, the bond had begun to fail. Freeze-thaw cycles had worked at the adhesion over the years.
Applying a new system over compromised material transfers the failure rather than correcting it. The old epoxy had to come off completely before anything new could go down. The scope included 45 linear feet of vertical lip. No steps were in scope.
Epoxy Removal
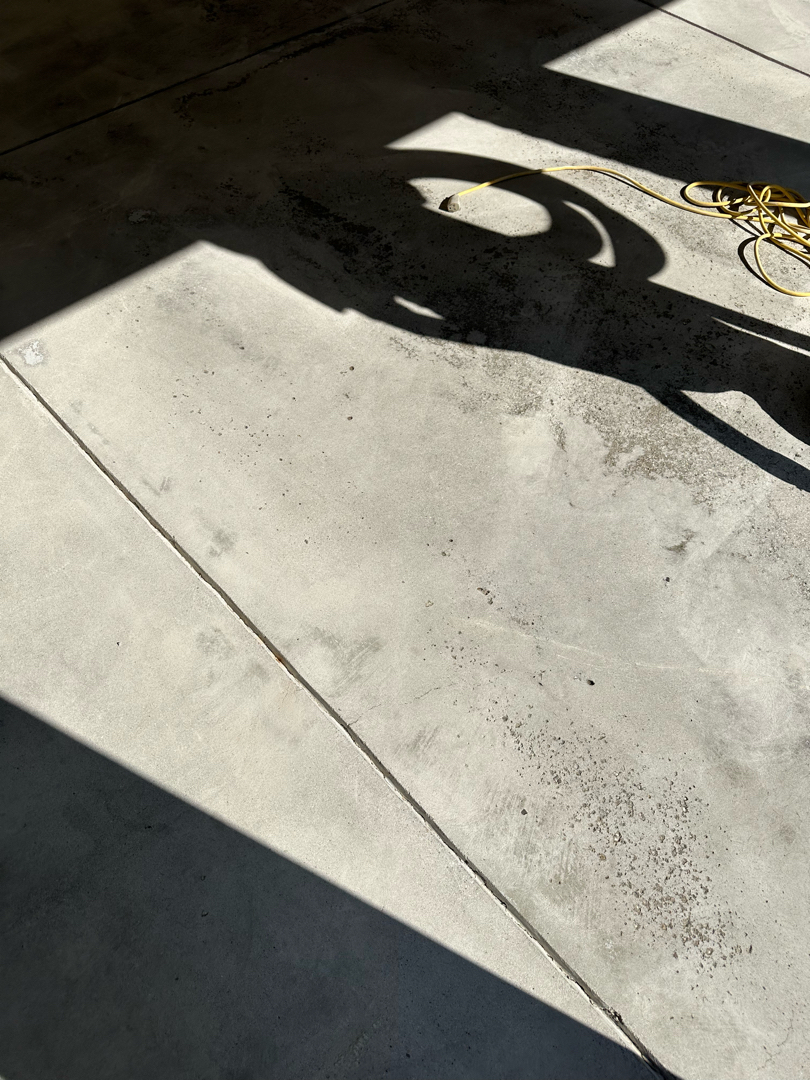
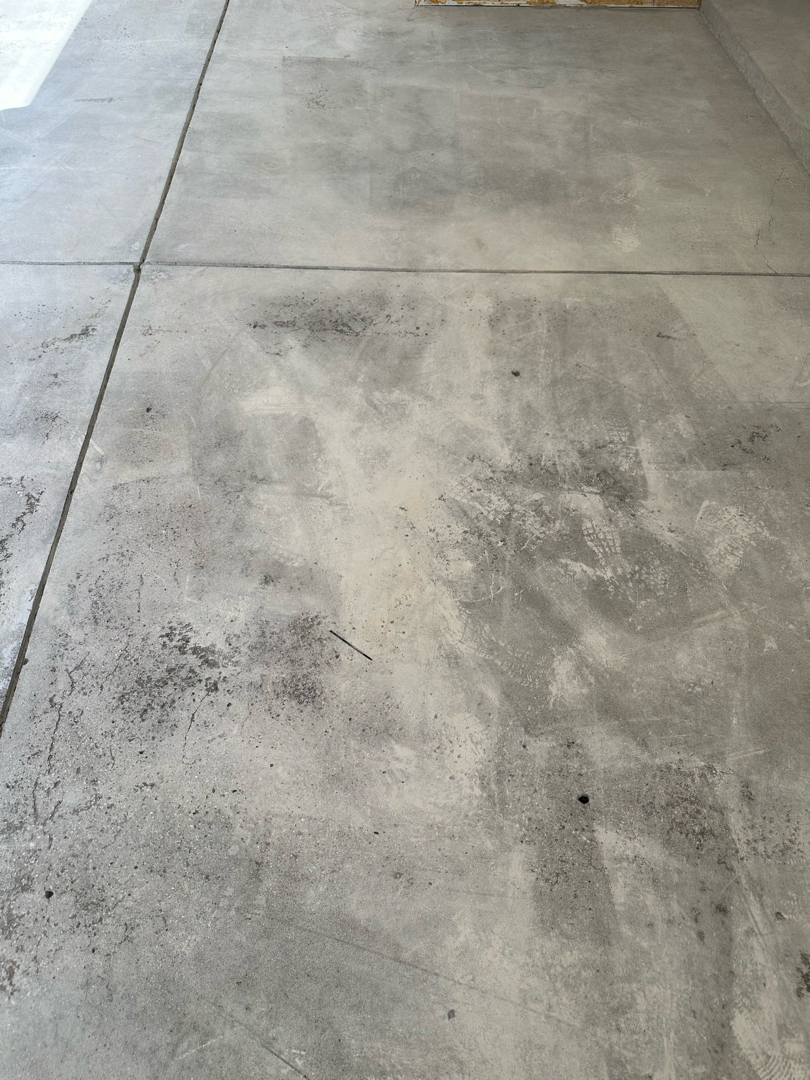
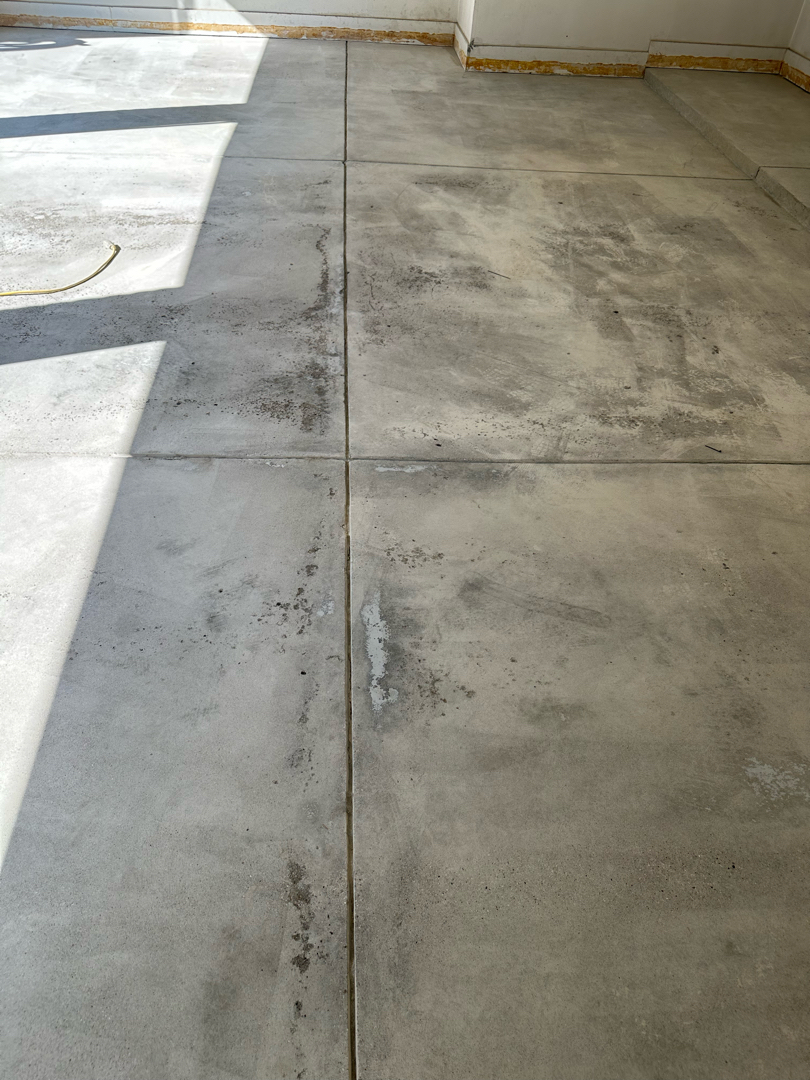
Our crew ran diamond grinding equipment across all 718 square feet. We made multiple passes. We cleared the coating and exposed raw concrete throughout. Our crew cut through the yellowing material and the adhesion-failed zones at the control joints.
With the old coating off, moisture testing returned Mc4. That put it within the acceptable range for direct coating application. Minor cracking appeared across the slab once the epoxy was gone.
Profiling and Crack Repair
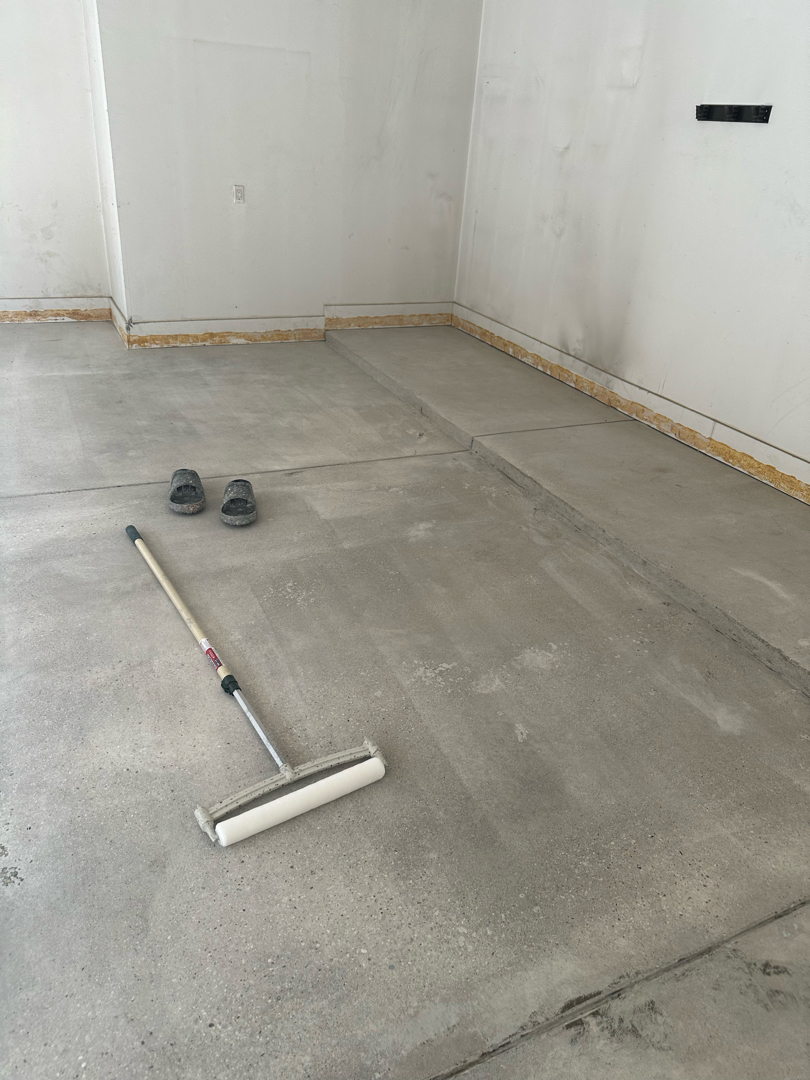
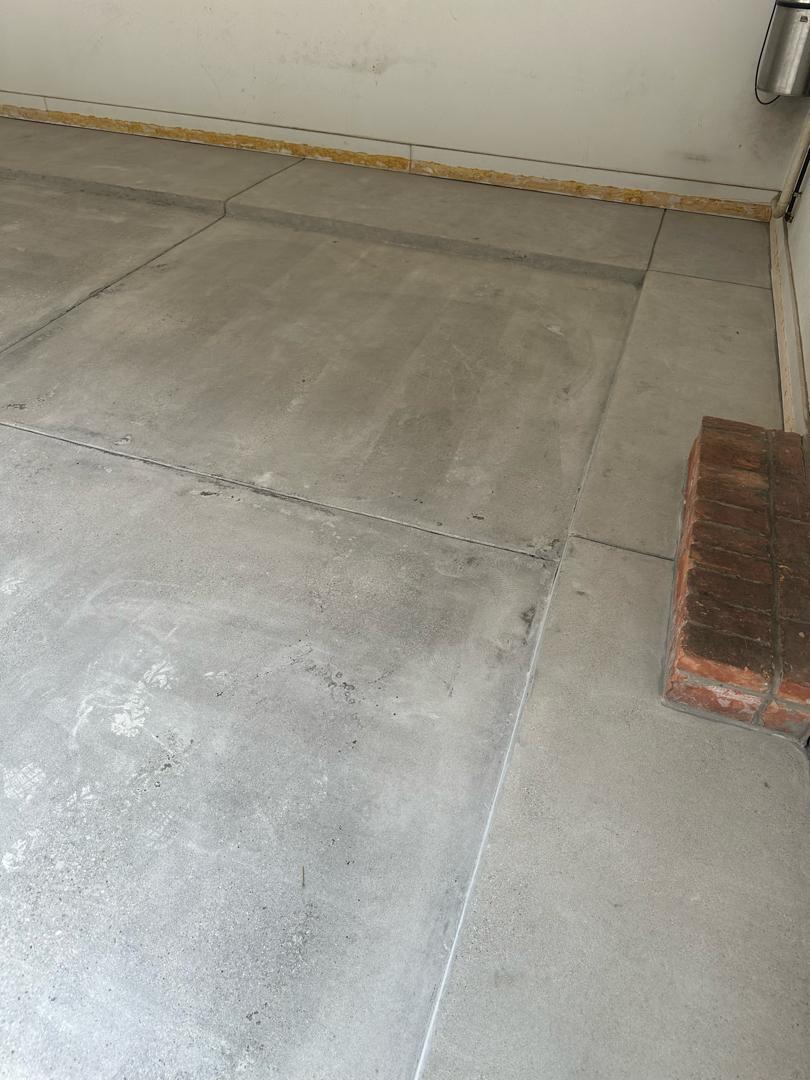
Our crew ran a full profiling pass across all 718 square feet with 16-grit tooling. That cut a Scratch #7 surface texture. The texture gives the polyurea base coat a bondable surface. A coating applied to smooth concrete sits on the surface rather than bonding to it.
Our team filled the cracks across the field with flexible polyurea filler. We worked it into each seam and allowed full cure before any coating began.
Our crew hand-ground the 45 linear feet of vertical lip. We matched the floor profile throughout.
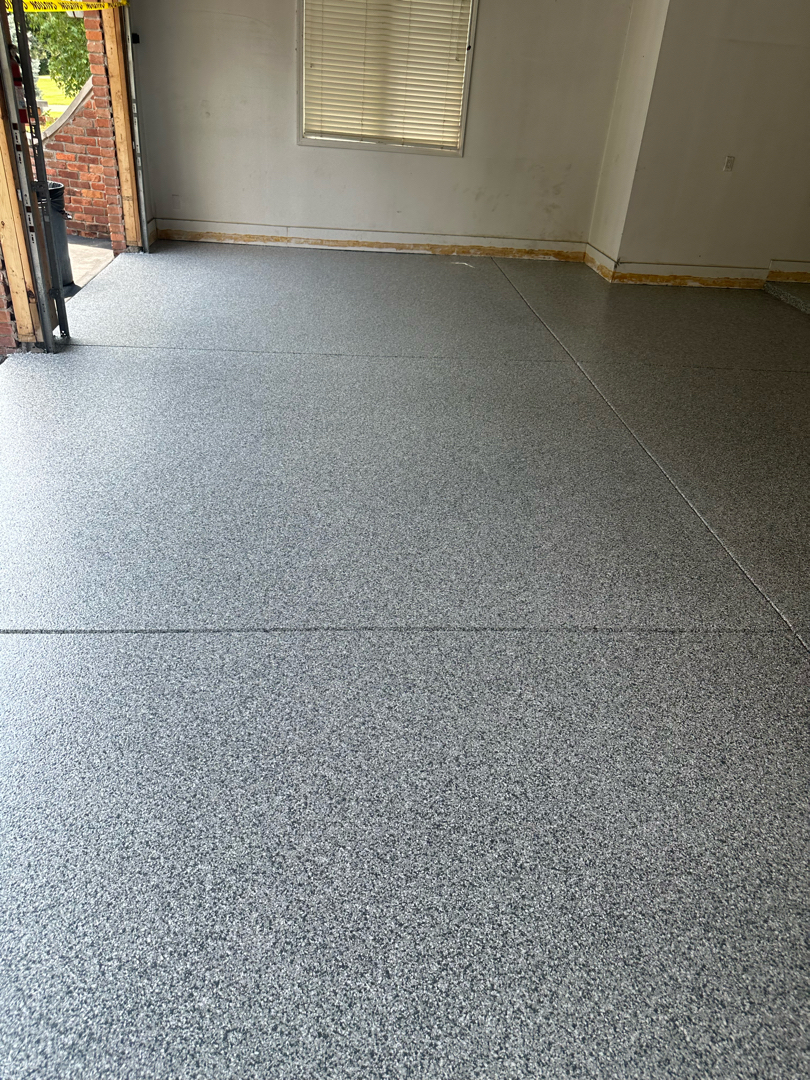
Slate Stone on 718 Square Feet
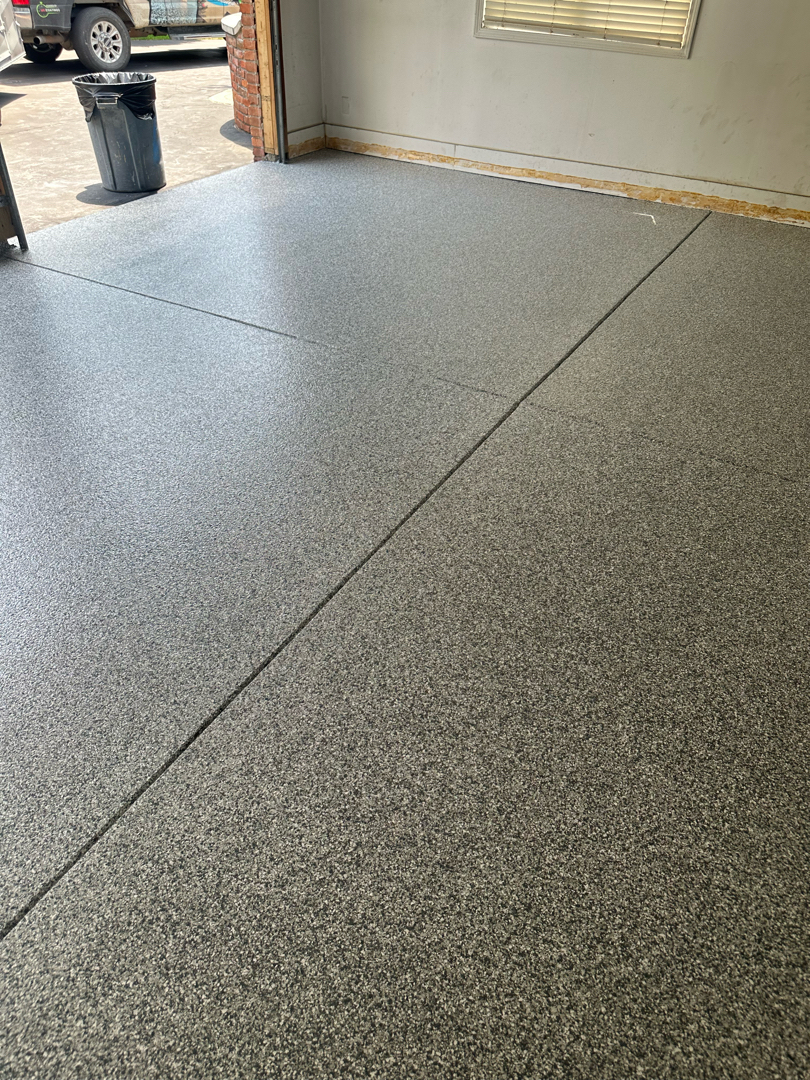
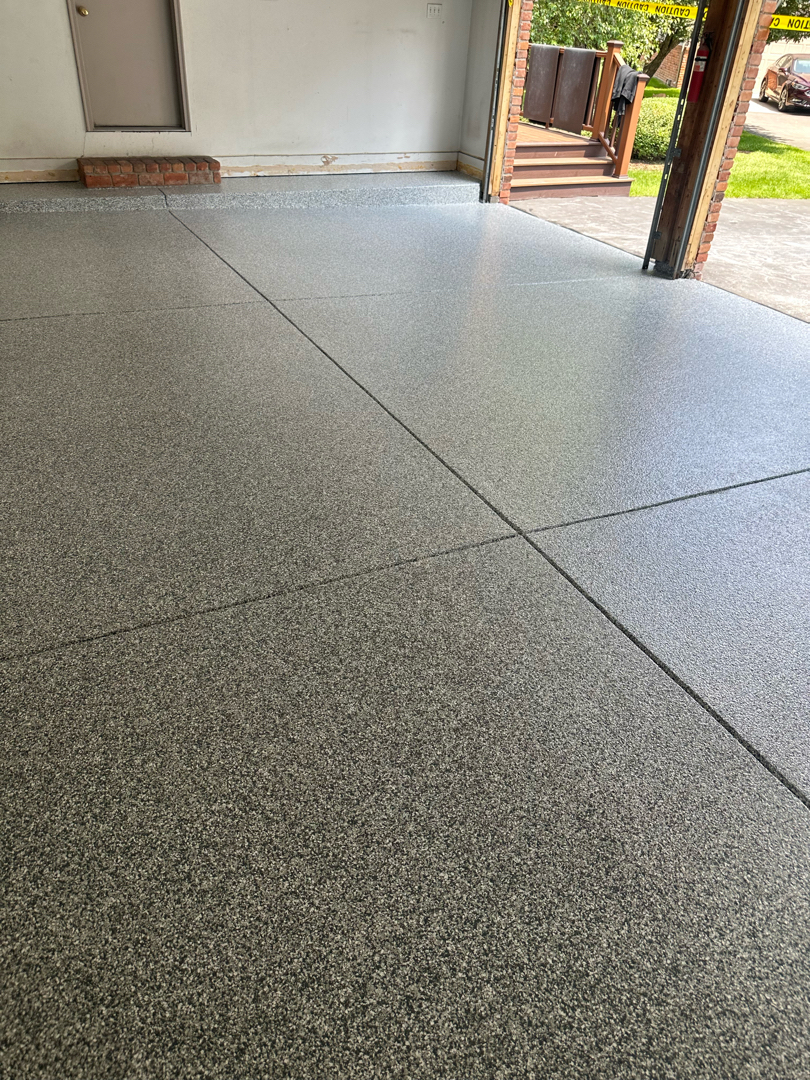
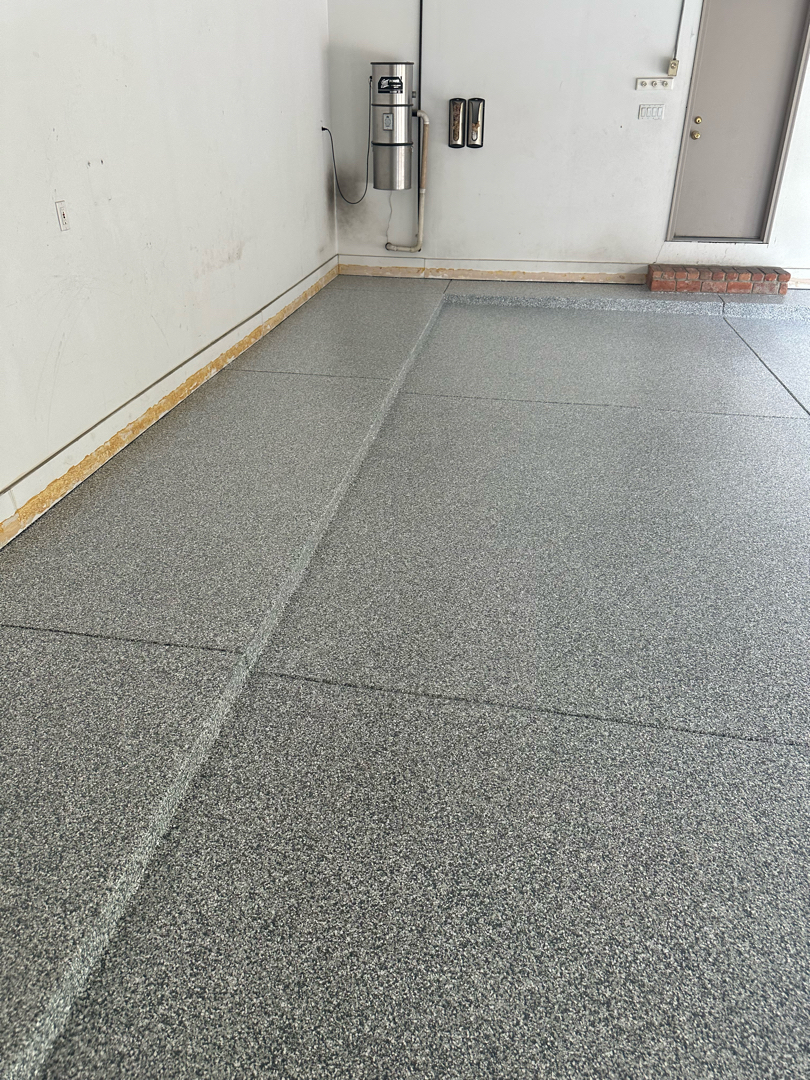
Our crew applied the polyurea base coat by roller across the prepared 718 square feet. We cut in the vertical lip by hand along the full 45 linear feet.
Our crew broadcast Slate Stone flake into the wet base coat. It covered the floor and lip. Slate Stone carries a blue-grey base with white and dark chips. The blend reads clearly in both natural light and overhead light.
After cure and excess flake recovery, our team applied the polyaspartic topcoat with traction additive throughout.
718 Square Feet — A System Built to Hold<
Testimonials - What other clients say
Janet Dean
Karen S
Rob Lowery is exceptional to work with. He explained everything thoroughly so there were no surprises on our garage floor.
His crew Billy R..Geramy and Brian were right on time . We could not be happier with the job they completed. It is like a piece of art. Everything was cleaned up before they left. They were friendly and very easy to talk to.
Motor City Floors and Coatings should be very proud to have them as part of the team! We highly recommend this company.
Garage Floor Coating
on Sunflower Lane
Sunflower Lane, Milford Charter Township, MI
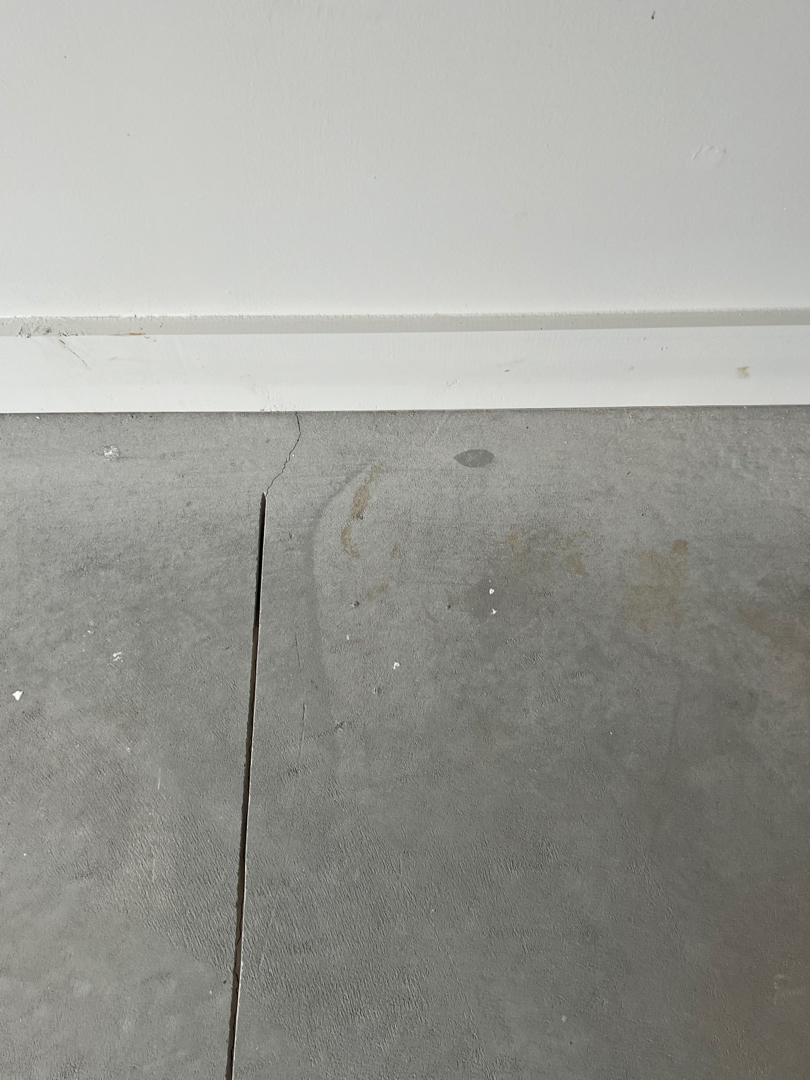
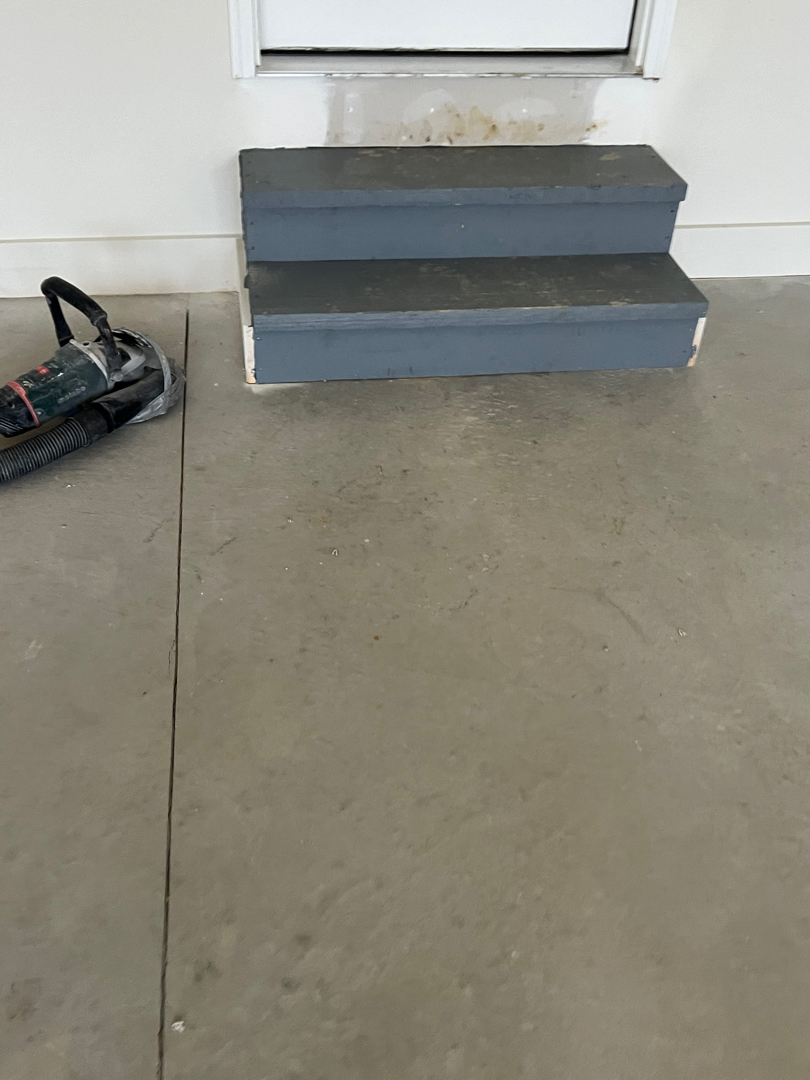
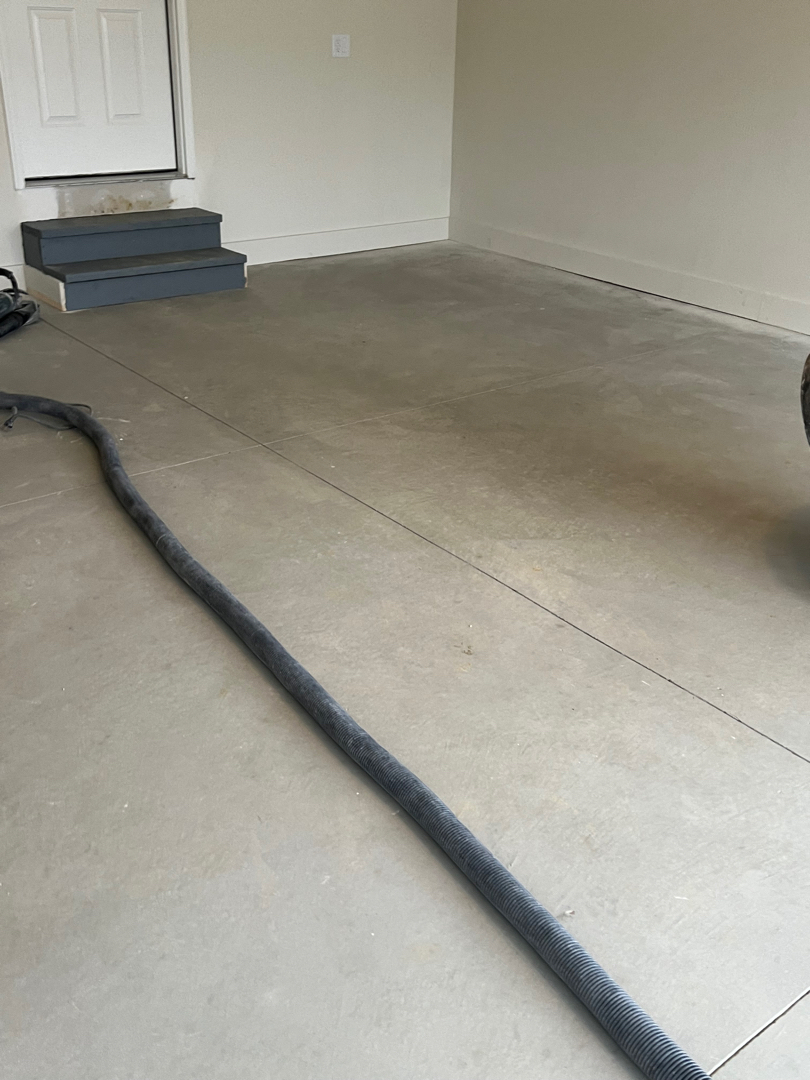
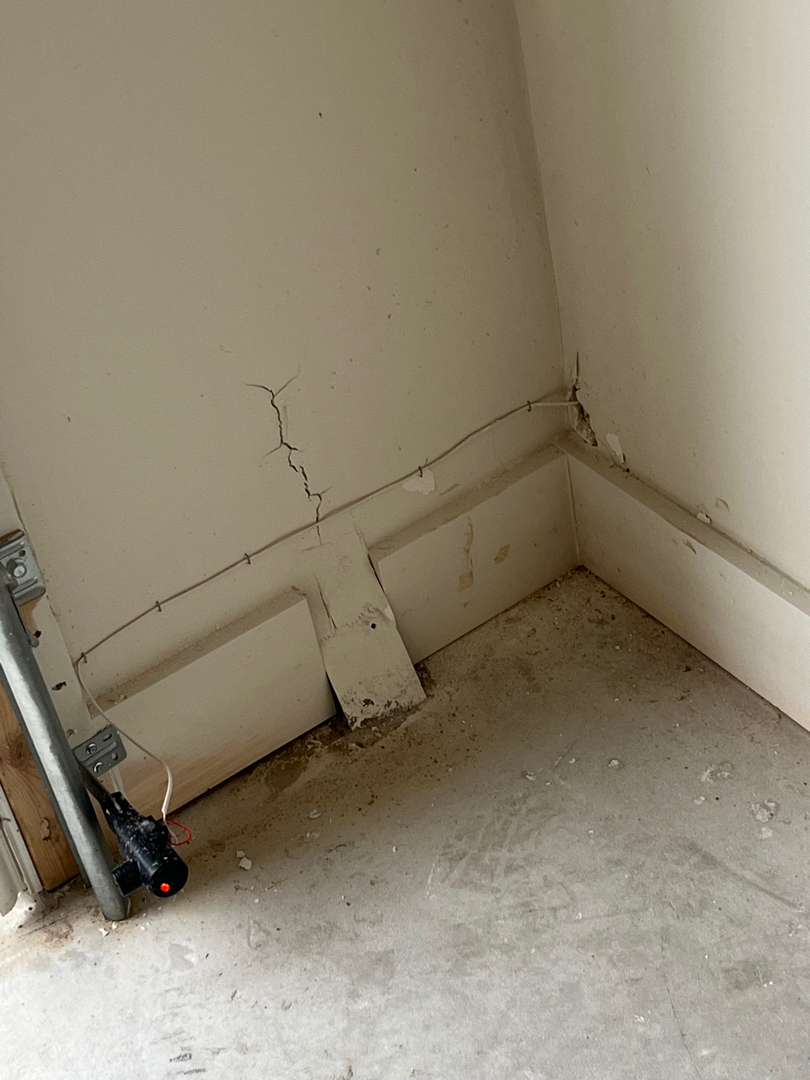
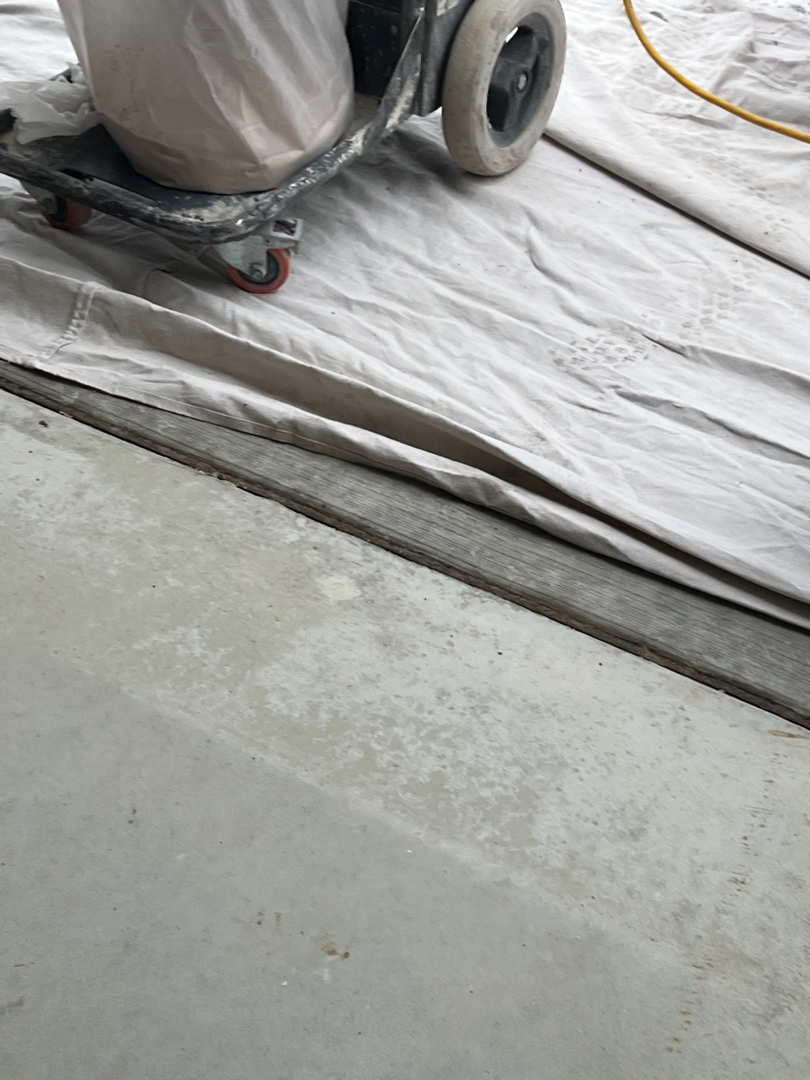
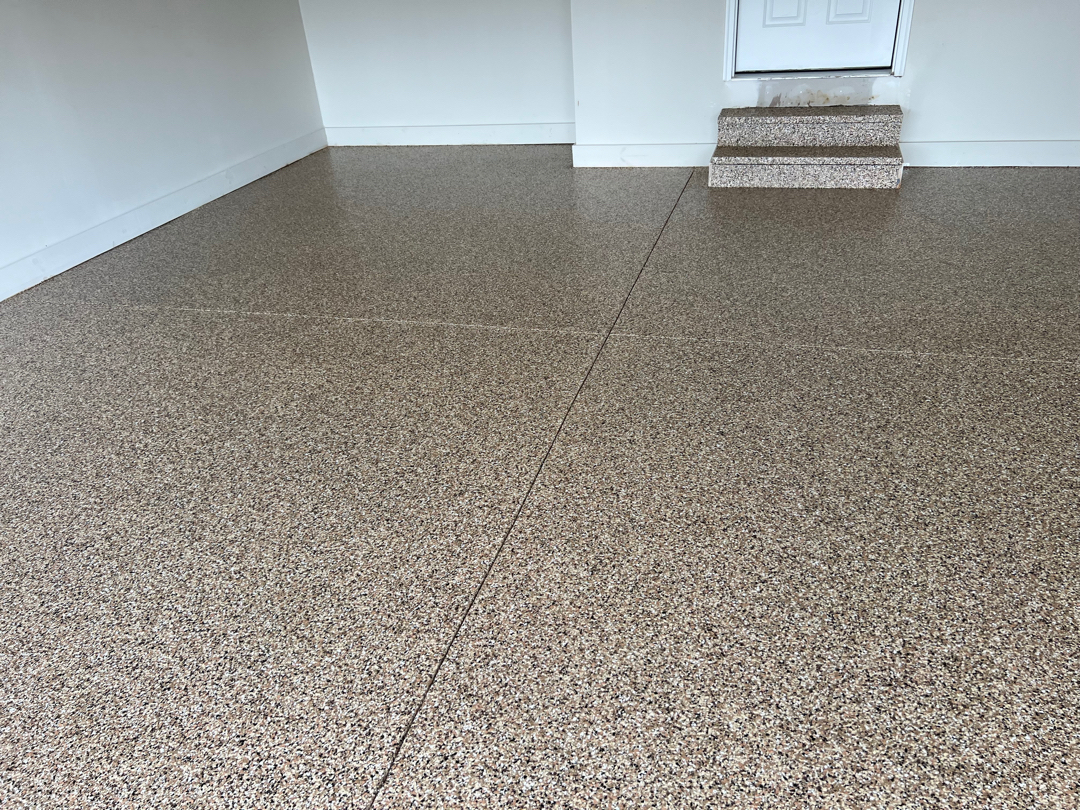
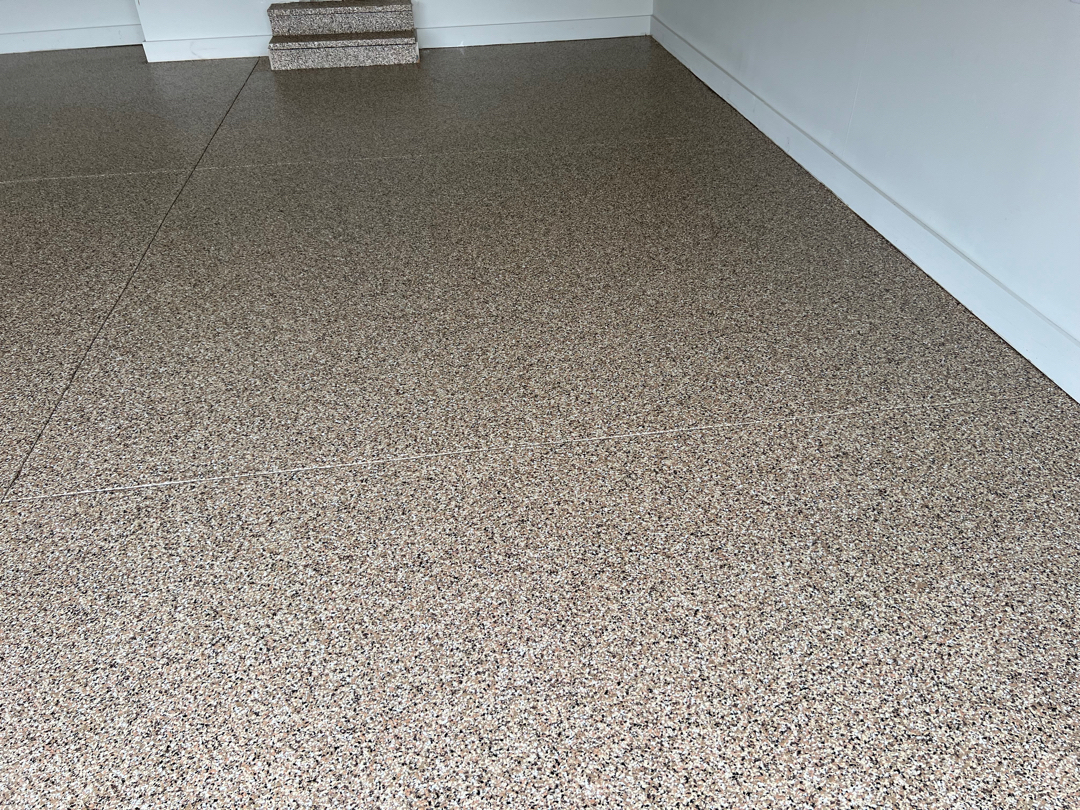
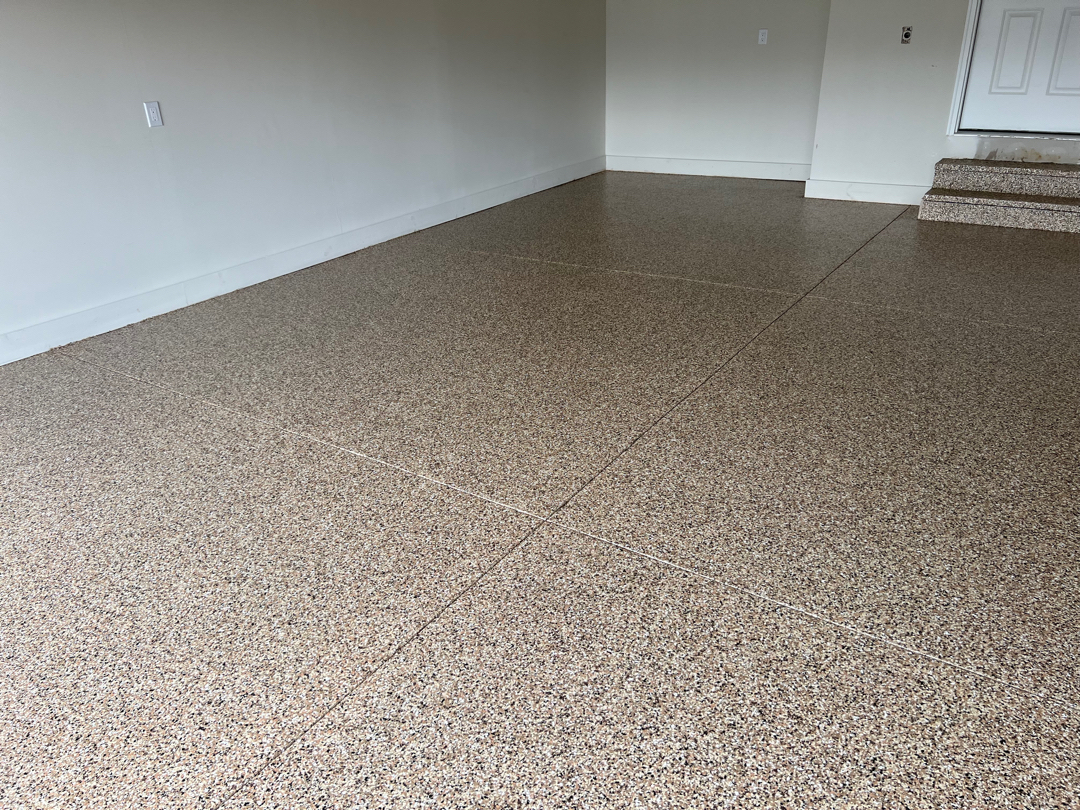
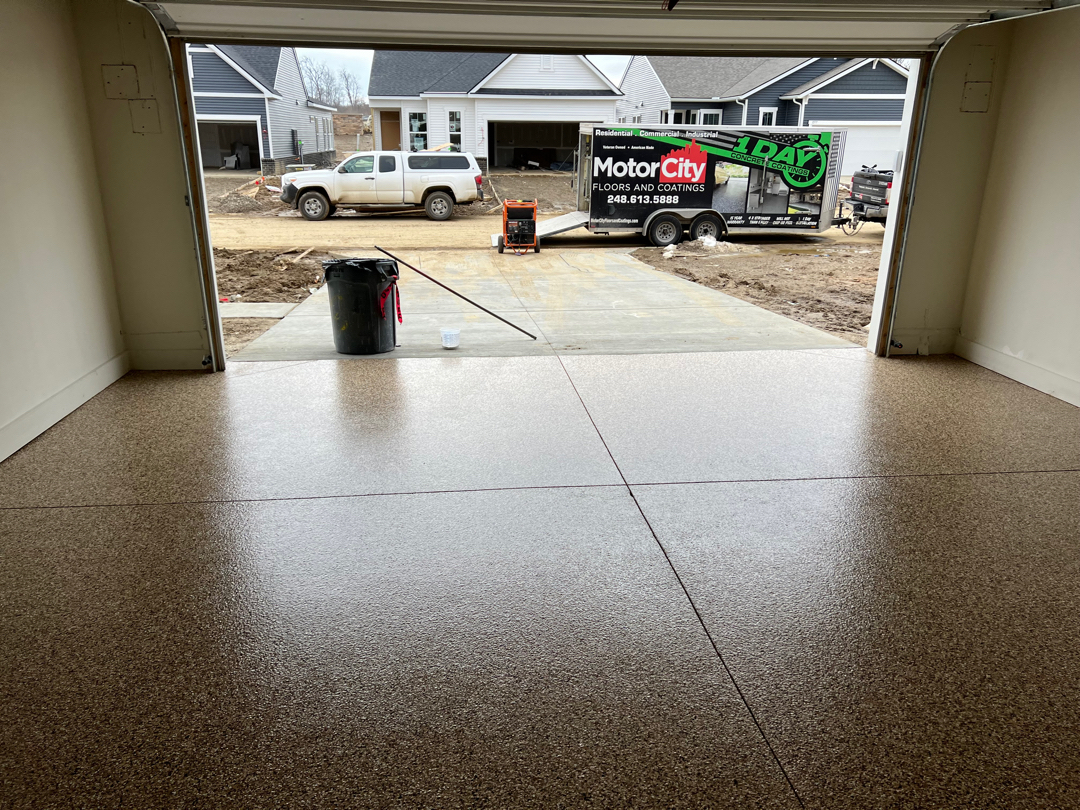
Not every project starts from a place of damage. The Sunflower Lane garage was 498 square feet of concrete. No prior coating, no oil, no moisture concern. The slab was in good structural condition. One small stress crack ran through one section. Surface irregularity at the driveway lip needed extra attention before coating could begin. Two concrete entry steps were in scope. The conditions here let our crew focus on execution rather than remediation.
Diamond Grinding and Lip Preparation
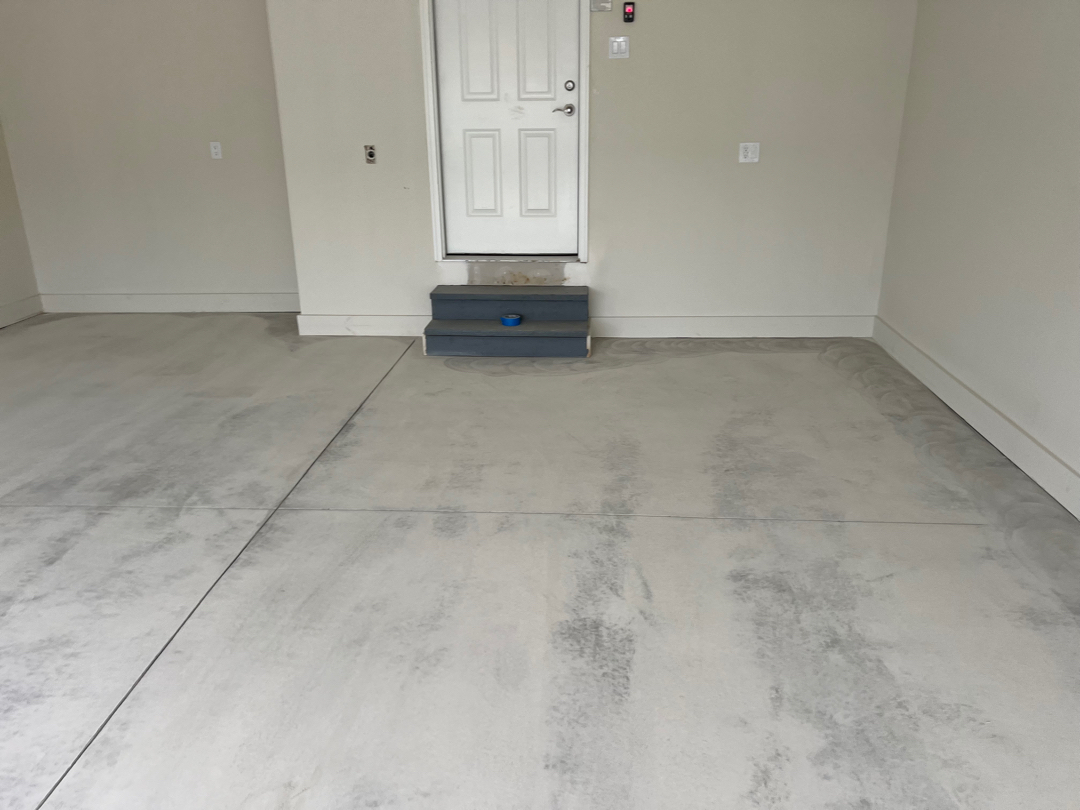
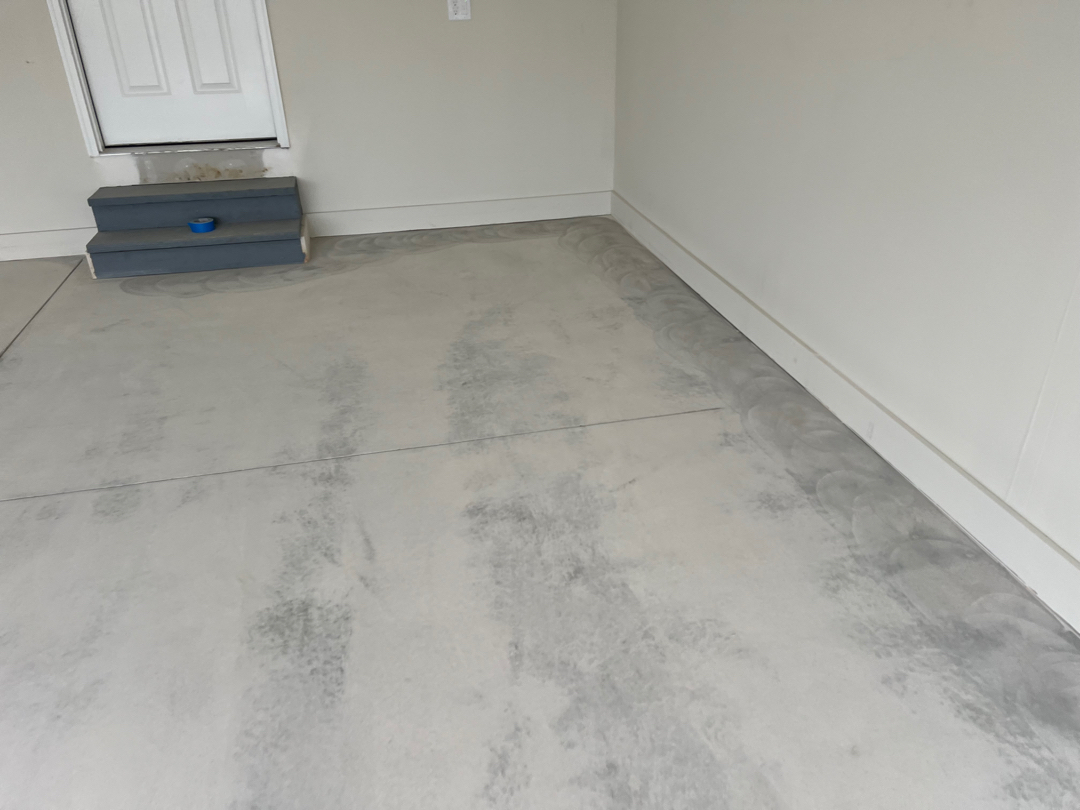
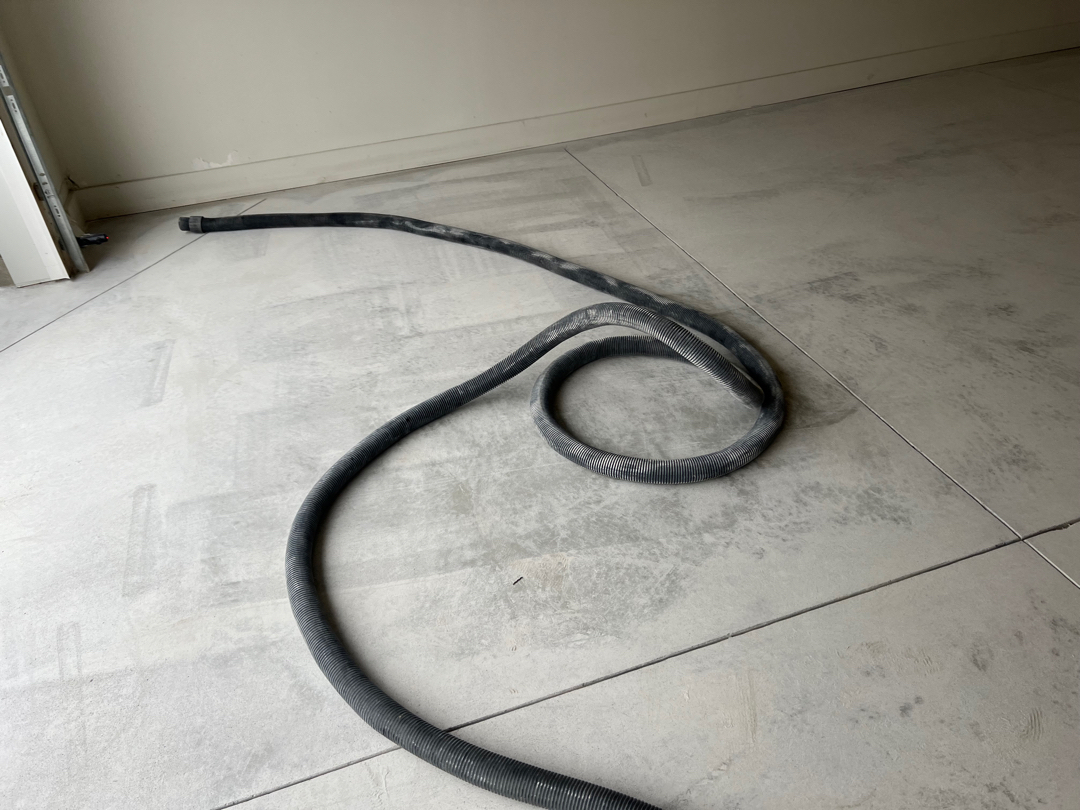
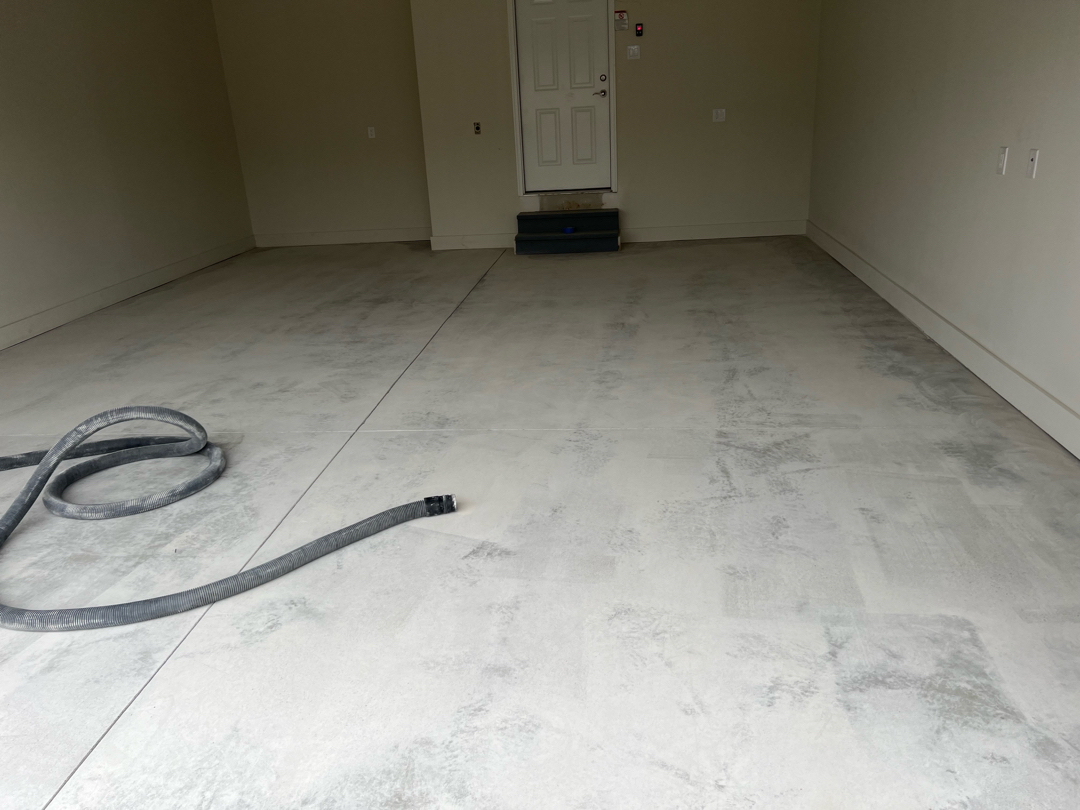
A sound slab still requires mechanical profiling before any coating can bond to it. The laitance layer at the top of cured concrete blocks direct adhesion. Our crew ran all 498 square feet with 16-grit tooling to a Scratch #7 profile.
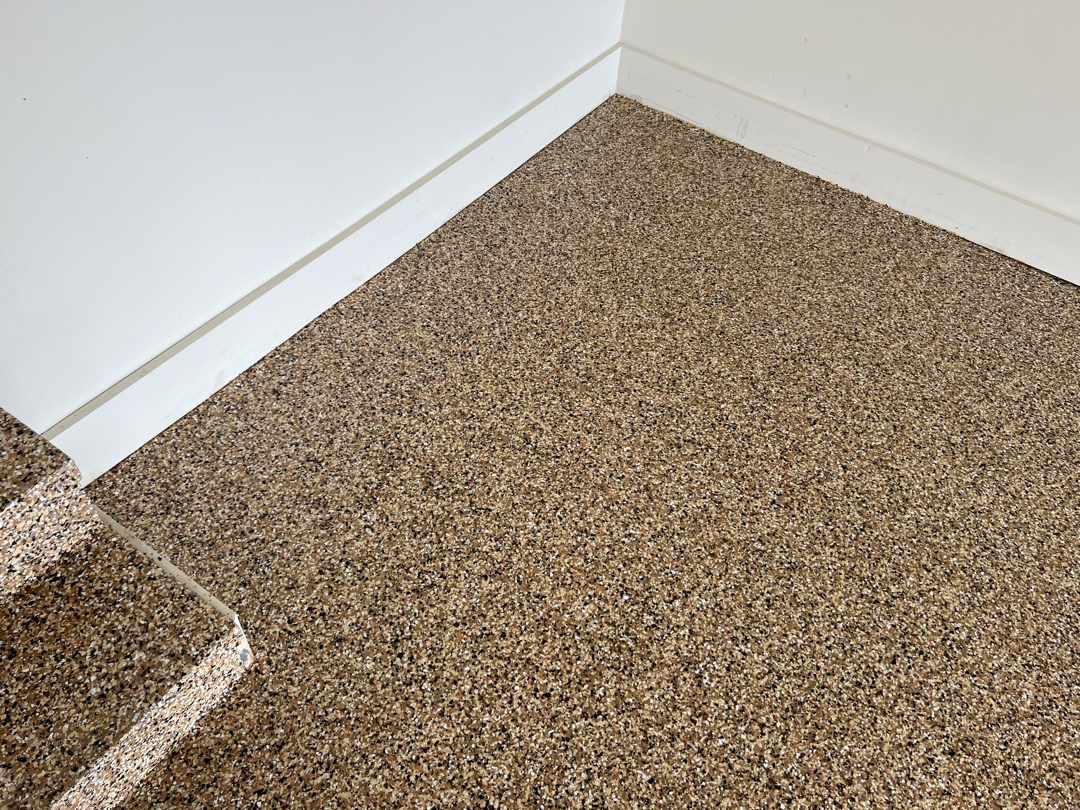
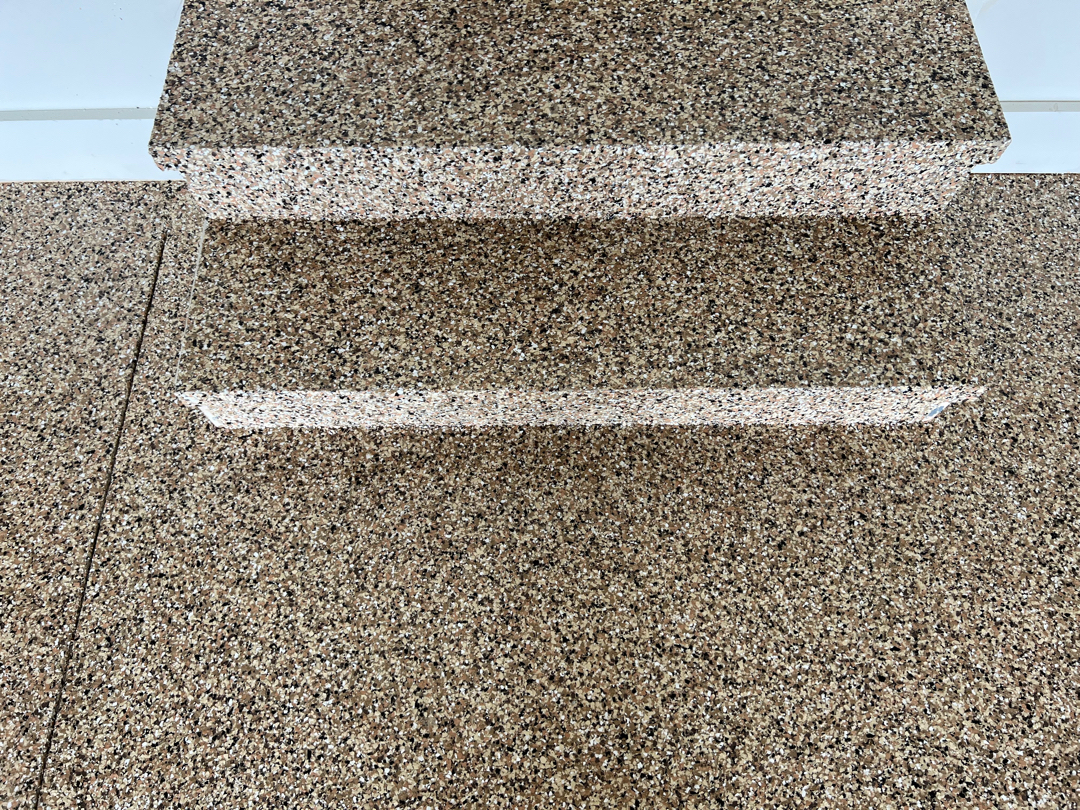
Our crew hand-ground both step treads and all riser faces. We matched the floor profile on every face.
The driveway lip needed particular attention. Surface irregularity accumulates at this transition zone from traffic and seasonal ground movement. Our crew made additional passes along the full lip. We produced a consistent profile right through to the garage door threshold.
Our crew filled the stress crack with flexible polyurea filler. We worked it into the seam and allowed full cure before coating began.
Sandstone — Floor and Steps
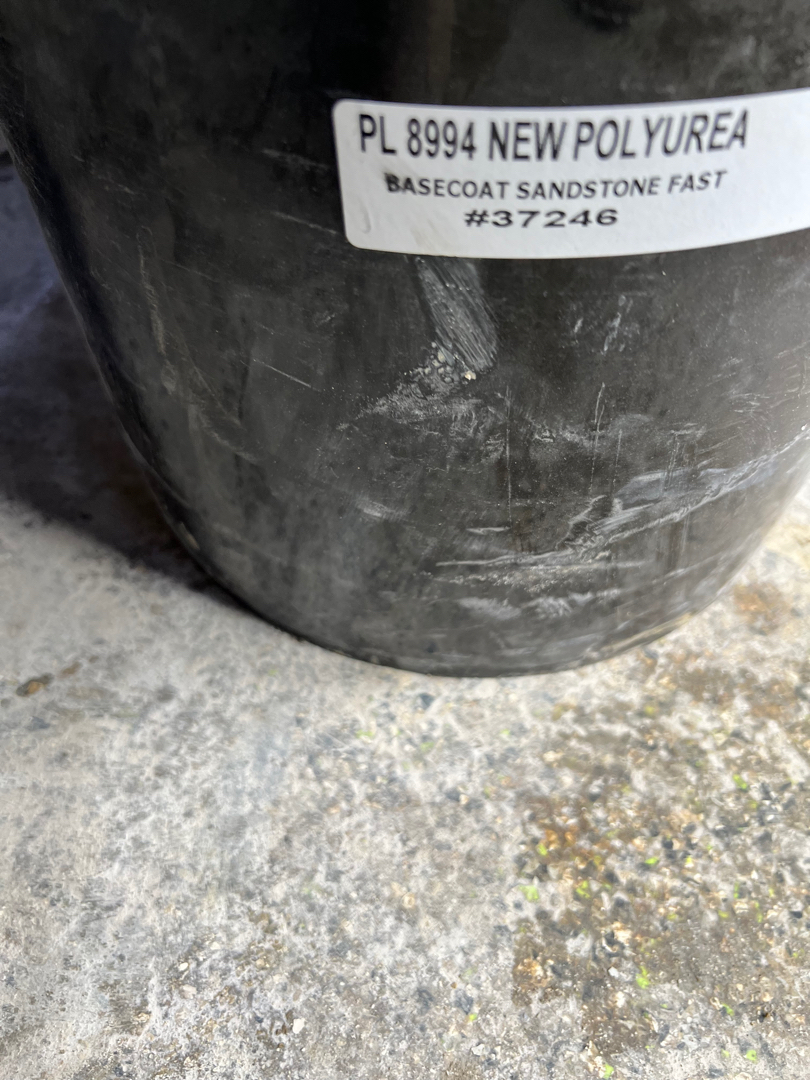
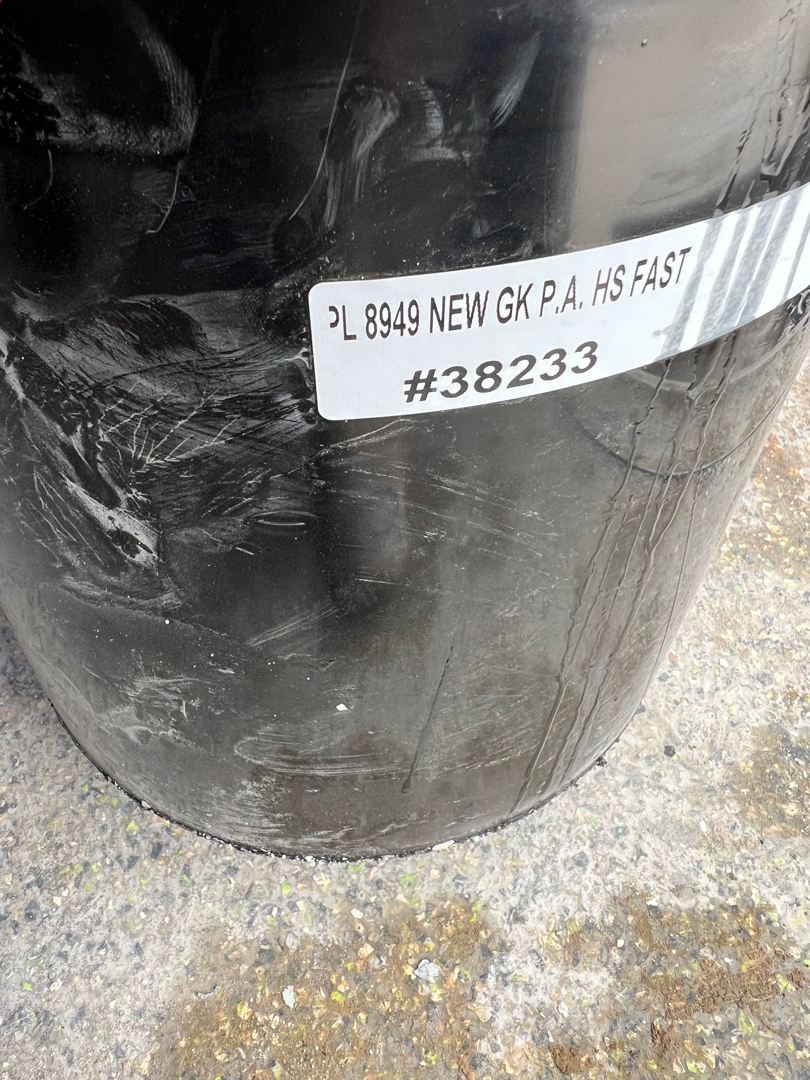
Our crew applied the polyurea base coat by roller across the prepared 498 square feet. Our team applied base coat to both tread and riser faces of each step. We integrated the steps into the main floor finish from the first coat.
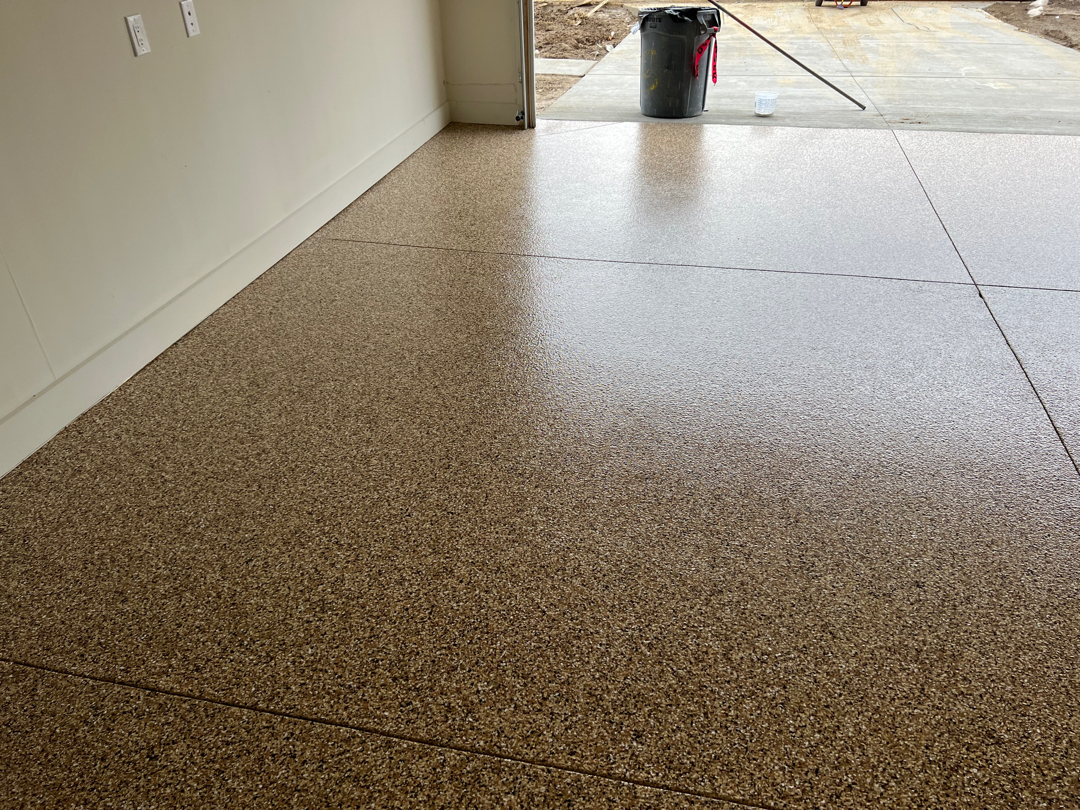
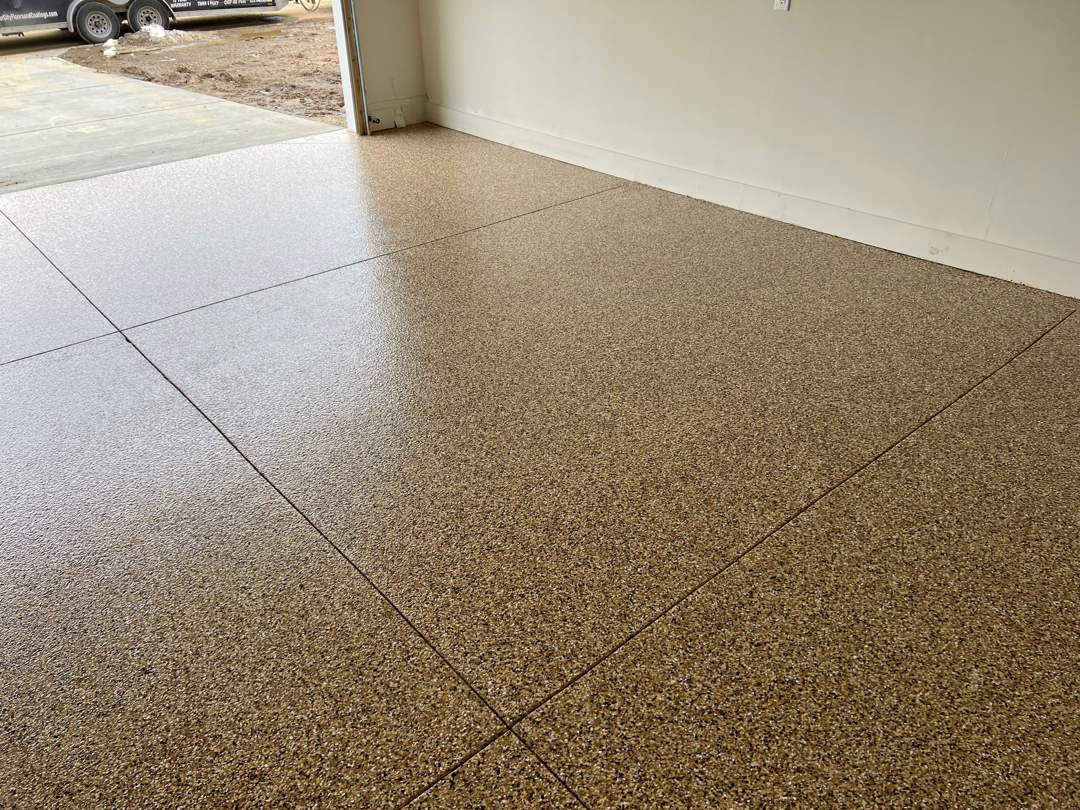
Our crew broadcast Sandstone flake into the wet base coat across the full surface. It covered the floor and both steps. Sandstone carries a warm blend of tan and cream tones. It sits naturally in the residential character of this street.
After cure and excess flake recovery, our team applied the polyaspartic topcoat with traction additive throughout.
A Good Slab, Finished Right
Testimonials - What other clients say
NChrispen
Ronald Warnat
Garage coating that’s better than epoxy or Concrete Coatings
Right from the beginning from the salesperson all way down to the finished product was nothing but an excellent experience. Very knowledgeable professional and did exactly what they said they were going to do. No question I’d rate them at a 10 plus plus. One of the best contractors I’ve ever had come out to do work at my house. My wife and I highly recommend them
What These Milford Slabs Actually Needed
Deep oil contamination, a failed 15-year-old epoxy coating, and pitting hidden beneath old surfaces — the case studies on this page trace back to garages that needed real remediation before any new coating could go down, typical of Milford and Milford Charter Township’s mix of established subdivisions and rural-edge properties. Here’s what that kind of slab requires, from diagnosis through the finished coat:
If you want the details before deciding, these guides below break it down:
Why the old epoxy was failing in the first place — at the second Balsam Way project, 15-year-old epoxy had yellowed and lost adhesion at the control joints from years of freeze-thaw cycling; this breaks down the prep shortcuts and product limits that cause that kind of failure.
Why the prep work matters more than the coating itself — our CFO Jake Lowry walks through the diamond-grinding and crack-repair process behind every job on this page, from the oil extraction at the first Balsam Way project to the driveway-lip profiling at Sunflower Lane.
Recognizing when a slab needs recoating — cracking and surface pitting are two of the signs covered here, both present at Tall Timbers Drive before our crew got to it.
For the full side-by-side breakdown using the Balsam Way and Tall Timbers Drive projects as evidence, see our epoxy concrete floor coating in Milford vs polyurea comparison.
Serving Milford & Oakland County
We install polyurea-polyaspartic garage floor coatings across Milford and throughout Oakland County — including Milford Charter Township, Highland Township, Wixom, South Lyon, and Walled Lake. No matter where your garage sits, you get the same durable dual-coat system, one-day installation, and lifetime warranty.
FAQ
Common questions about polyurea garage floor coatings for Milford and Milford Charter Township homeowners.
Epoxy is a slower-curing, more brittle chemistry that breaks down under UV exposure over time — which is why you see older epoxy floors yellowing and peeling near garage doors after a few years. Polyurea-polyaspartic systems cure faster, remain flexible after cure, and hold their color without UV degradation. In Michigan specifically, that flexibility matters because concrete slabs expand and contract significantly through freeze-thaw cycles. A coating that can move with the slab rather than fight it is going to outlast epoxy in this climate by a wide margin. Our dual-layer system — polyurea base coat followed by a polyaspartic topcoat — combines the impact resistance of polyurea with the hard, stable surface finish of polyaspartic.
Most residential garage floor coating projects in Milford and Milford Charter Township are completed in a single day. The polyurea base coat and polyaspartic topcoat both cure rapidly — foot traffic is typically possible within 24 hours, and vehicle traffic within 48 to 72 hours depending on conditions. Projects involving more involved preparation — full epoxy removal, oil extraction, or a second grinding pass after pitting repairs — may require additional cure time between phases, but the overall timeline still stays within the same day for application. During your estimate, we will give you an accurate timeline based on the actual scope of your specific slab.
Surface oil can be addressed through the diamond grinding process if the contamination is very light — as was the case on the Tall Timbers Drive project. When oil has penetrated deeper into the concrete body, grinding alone will not resolve it. We use a petroleum drawing compound applied directly to the contaminated zones of the slab. The compound draws oil molecules from within the concrete up to the surface, where they are removed along with the compound material. This is a non-negotiable step when deep oil is present: residual petroleum beneath a coating system will compromise adhesion over time regardless of how well the surface was otherwise prepared.
The polyurea-polyaspartic system is resistant to abrasion, impact, chemical exposure, and UV degradation. It handles vehicle traffic, road salt tracked in from Michigan winters, automotive fluids, and the kind of daily wear a garage floor takes without staining or peeling. The flexibility in the cured coating also means it resists the micro-cracking that brittle epoxy systems develop over time as the concrete beneath them moves seasonally. A properly installed polyurea garage floor coating in Milford Michigan — meaning one installed on a correctly prepared slab with a full dual-layer system — is not a surface that requires periodic recoating under normal residential use.
Routine maintenance is straightforward. A dust mop or leaf blower handles loose debris, and a damp mop with a pH-neutral cleaner takes care of everything else. The chemical resistance of the polyaspartic topcoat means that automotive fluids, road salt residue, and household cleaners wipe up cleanly without etching or staining the surface. Avoid harsh solvents or abrasive scrub pads directly on the floor. Soft-backed mats at entry points will extend the life of the topcoat in high-traffic zones. Beyond that, no periodic sealing, waxing, or recoating is required under normal residential use.
No — and this is one of the details we pay attention to on every project. Our polyaspartic topcoat includes a traction additive incorporated directly into the material before application. This provides reliable grip underfoot on a wet surface without altering the visual appearance of the finished floor. The additive is not an afterthought — it goes into the topcoat on every project we complete, including all four of the Milford and Milford Charter Township garage coating projects documented in this series.
For deeper technical questions about our surface preparation methods, moisture diagnostics, and material science, visit our Garage Floor Coating Technical Guide
The MotorCity Advantage
MotorCity Floors and Coatings specializes in professional-grade polyurea-polyaspartic systems. These dual-coating systems are replacing epoxy products constrained by older chemistry. Our systems deliver strong chemical resistance, superior durability, greater flexibility, shorter cure times, and proven UV stability that maintains color for decades. We back every installation with an industry-leading warranty.
Each project includes thorough diamond grinding preparation, flexible polyurea crack repair, and careful application to ensure consistent coverage across the full slab. When deep oil contamination is present — as our crew found at the Balsam Way project — we perform oil extraction before grinding. This step prevents petroleum from migrating through the concrete and undermining the coating bond. When an old epoxy coating has failed, as on the second Balsam Way project, we strip it completely to raw concrete before any new material goes down.